Graphics Reference
In-Depth Information
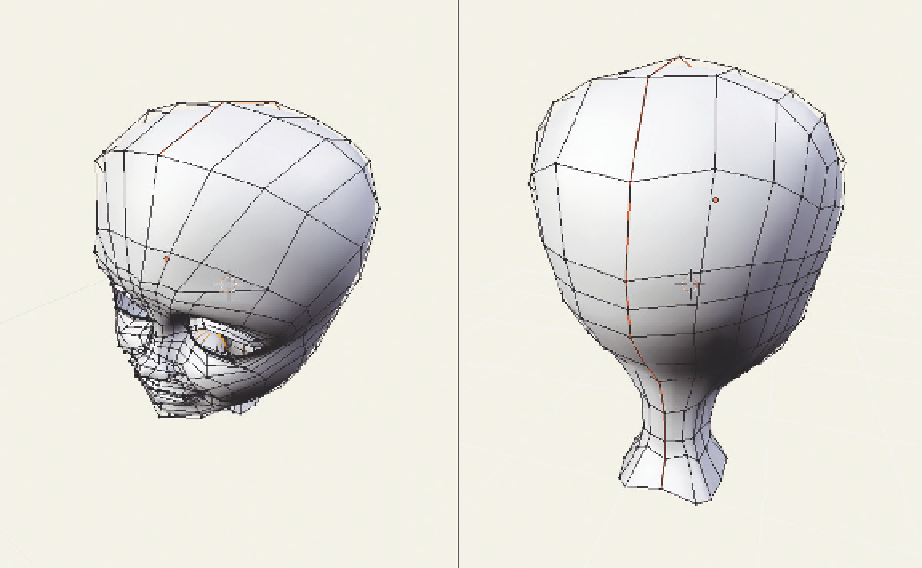
Figure 7.27
Creating a seam for UV unwrapping.
When preparing to unwrap something like a head, it pays to know your goal ahead of time. Those goals
are simple, but sometimes mutually exclusive: Preserve the relative angles and areas of the mesh faces, and
make sure that no seams are in obvious places (i.e., down the middle of the face, across a cheek). The
reason that we try to keep angles and areas of mesh faces the same as they are in 3D is so the scale of our
eventual texture image can remain relatively uniform. For example, if a face has an area of two square
units in the 3D mesh and two square units in the unwrap, but another takes up two square units in 3D
but only a half of a square unit in the unwrap, think about what that means for the texture image. If we
were creating an image of freckles, the freckles in the 2 : 2 portion would have to be a different size in
the texture image than the ones in the 0.5 : 2 portion so that they all looked the same scale when rendered
onto the 3D surface. The reason to relegate seams to hidden or unobtrusive locations is obvious—you
don't want to see any texturing seams in your final render.
When working on a head, pretend that you are doing reconstructive surgery, taking the skin off a head
(yuck), fixing it up, then putting it back on again. Where can you cut and stitch so that no one will notice
when the person goes out for dinner? If you're working on a whole body, like an animal, pretend that
you are a taxidermist and someone wants a whole pelt, removed from the animal and flattened. Where to
place your cuts? The most likely places will be along the belly up to the chin, and on the insides of the
Search WWH ::

Custom Search