Graphics Reference
In-Depth Information
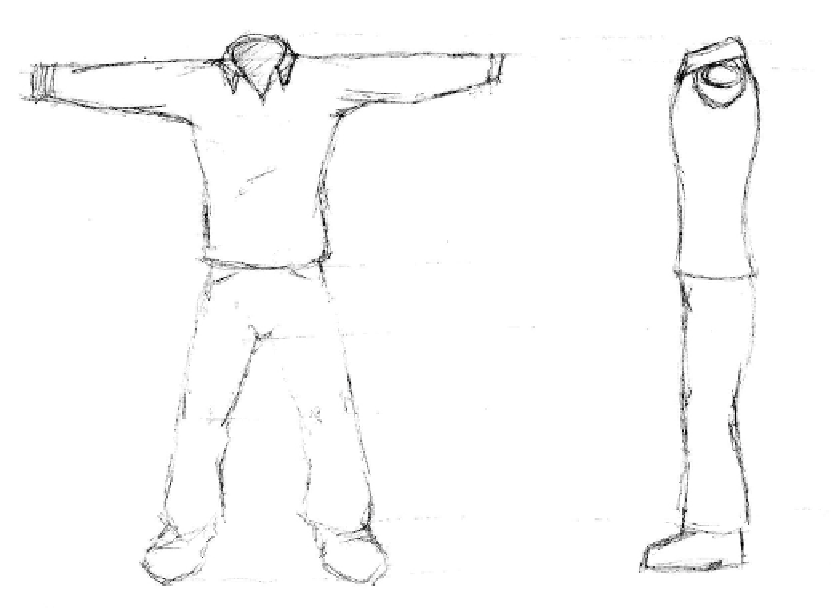
Figure 6.23, cont'd
palms down. This pose makes it much easier to bind your character model to a control structure later on
for animation.
Once the shirt (or pants or coat) that you've made conforms to the outlines of reference, you can begin
to add details. Some, like the actual texture of the fabric, will be added later when surfacing. Others though,
like buttons, collars, pockets, and cuffs, should probably be modeled. Remember to add extra edge loops
at boundaries like cuffs and seams. When a Subdivision Surface modifier is added later, these edges will
help to maintain the definition of these parts of the model.
Figure 6.24
shows cuffs and a shoulder seam
with two extra loops added at each, and the central loop inset a bit.
Details that are fabric like a shirt pocket and that will bend along with the rest of the cloth when your
character moves should be included as part of the main shirt model. Rigid items, like buttons, require a
different method if they are not to “bend” when the cloth does. To demonstrate, we'll add a name tag
to the model.
Use the Tab key to leave Edit mode on the shirt. Add a cube (Shift-A) and scale it down along the dif-
ferent axes until it looks about the relative size and shape of a name tag. Move it into place just in front

Search WWH ::

Custom Search