Graphics Reference
In-Depth Information
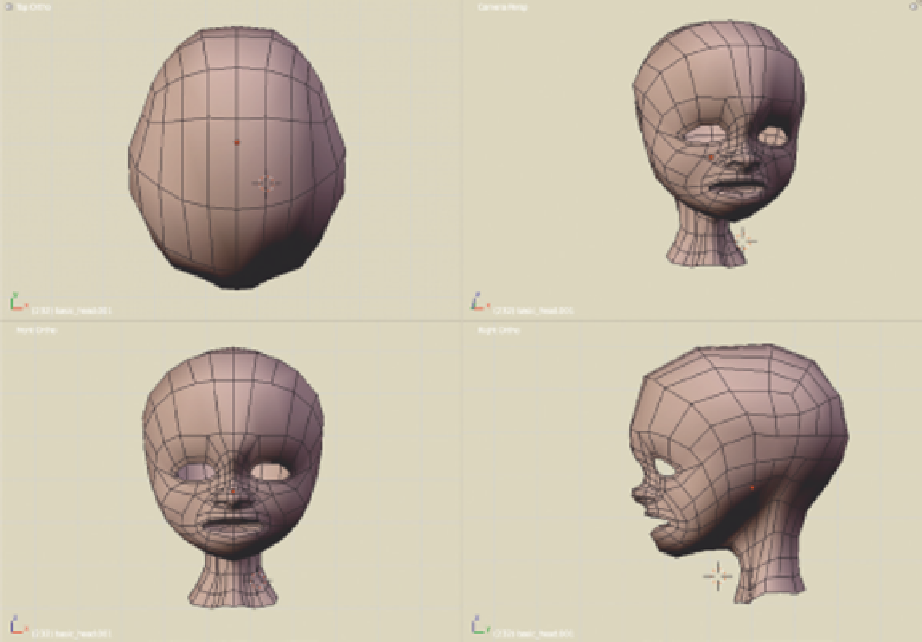
Figure 6.4
The base head roughly adapted to the example character.
Cheeks
Let's fix the blocky look of the cheeks. In Edit mode, use Ctrl-R to cut a loop that runs around the entire
head. When adding geometry to a head model, you will almost always use the Loop Cut tool, as it main-
tains the crucial loop structure that you will need later for animation. With this new loop in place, adjusting
the curvature of the cheek to better match the reference is easy. Just grab the appropriate vertex, make
sure that PEF (O key) is enabled, and pull it out.
Figure 6.6
shows a before and after of the whole process.
In this same way, you can add additional definition to your model. For example, the sketch of my character
shows a nice crease that runs from the outer edges of the nostrils around the mouth and down. This is
the typical smile crease that humans exhibit. Note how easy it is to enhance this feature on the model by
adding a loop cut like the one in
Figure 6.7
. Once that cut is made, the upper vertices that were created
can be selected and moved slightly “inside” the head to produce a natural-looking indentation.
Figure 6.7
shows the procedure and the result.
This also allows you to adjust the curve of the cheek above the crease more easily, without disturbing the
geometry surrounding the mouth.
Search WWH ::

Custom Search