Graphics Reference
In-Depth Information
you can select edges in Edit mode and
mark them by hand as Sharp through the
Ctrl-E Edge Specials menu. As a final
step, we've added a Subdivision Surface
modifier above Edge Split, to round out
the pointy edges on the top and legs.
Putting the Edge Split modifier below
the Subdivision Surface will cause some-
thing entirely different (Try it!), which
shows how important it is to have your
modifier stack in the proper order.
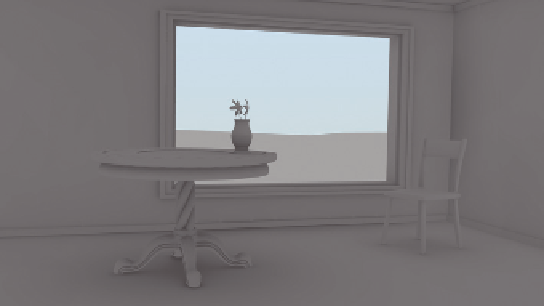
Figure 4.43
The inished models.
Assembling the Room
This shouldn't be too hard. Using the G, R, and S keys, assemble the different objects you've modeled
(Yeah you!) into a pleasing configuration. My suggestion is that you mimic the example scene, although
you don't have to. I'm not going to show up at your house to check. We'll tackle adding a character in
Chapter 5.
Oh, before we move on, add a cube to your scene and kill off one of the upper vertices to make it a
three-faced hemi-cube. In Face mode, select one of the vertical “walls,” extrude and scale it smaller, like
you did with the seat of the chair. Delete this new face, creating a window. You can choose to leave the
room itself in this simple state. For the example scene, we use the edges around the window, floor, and
ceiling to extrude some trim.
Figure 4.43
shows all of the models in the room, including some simple
trim that I added, with basic shading and nondirectional illumination.
Now, we're ready to continue.
What We Missed
Models aren't restricted to meshes. Blender allows the use of different kinds of renderable objects such as
Bezier and NURBS curves and surfaces, meatballs, and text. Obviously, the Modifiers panel contains a
great number of options we didn't explore. A lot of useful selection methods can be found and tested in
the Select header menu. An entire Snapping system is available through the magnet icon and accompanying
pop-up menu on the header that lets you do things like interactively snap transforming vertices to surfaces,
points, and other targets. You know enough to do some experimentation on your own now and to actu-
ally get something out of it. Go for it.
Next Up …
In Chapter 5, we learn how to add lamps to produce lighting schemes for indoor and outdoor
situations.
Search WWH ::

Custom Search