Information Technology Reference
In-Depth Information
3. In the Sharing and Discovery section, click the
Public folder sharing
list arrow.
4. Click the
Turn on sharing
option button so that anyone with network access can open files,
and then click
Apply
. (If the “Network discovery and file sharing” warning message appears
on the taskbar and begins blinking, click it, and then click the option beginning with “No.”)
The icons next to Network discovery, File sharing, and Public folder sharing in the Network
and Sharing Center turn green.
5. Click the
Show me all the shared network folders on this computer
link at the bottom. A
window opens that shows the Public and Printers folders. Close all open windows.
6. Click
Start
,
Computer
. Click
Public
in the left pane of the Explorer window under Folders.
This is the folder that has just been shared. Right-click a blank area of the right pane, point
to
New
, and click
Text Document
.
7 Under Folders in the left pane, click
Network
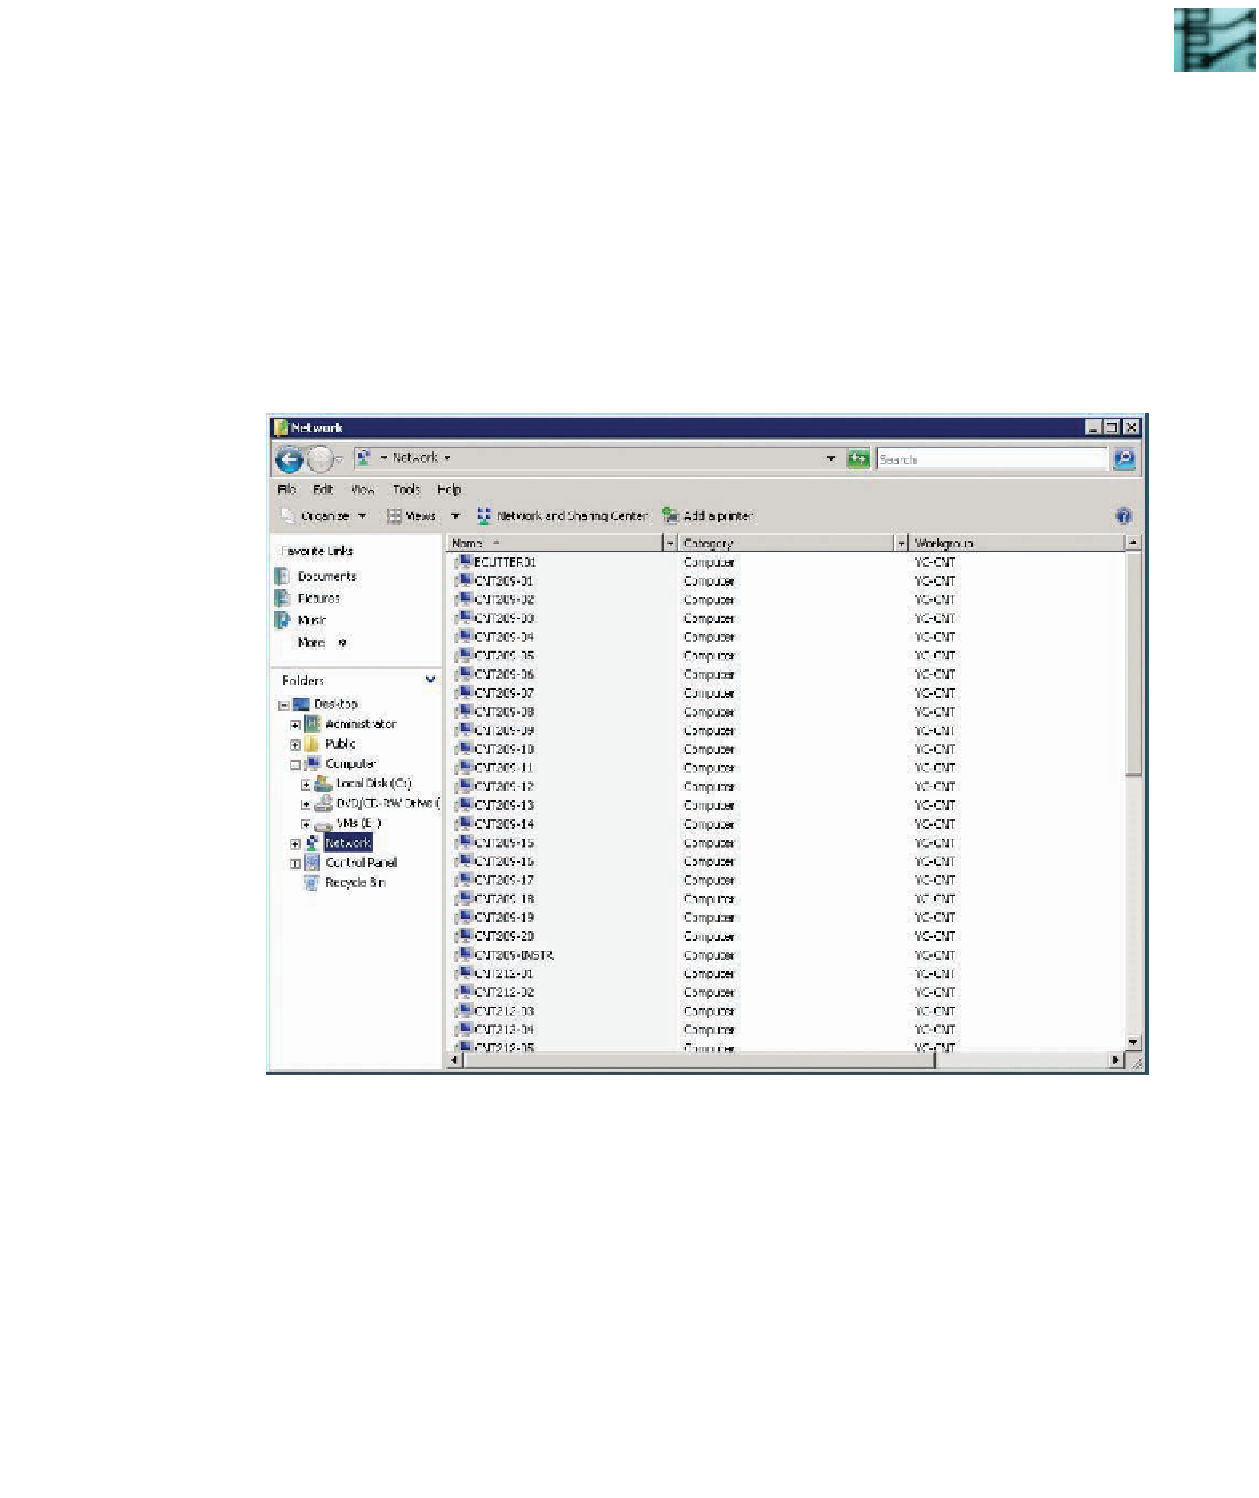
. A list of computers on the network is dis-
played in the right pane (see Figure 1-5).
1
Figure 1-5
A list of computers on the network
8. In the right pane, find the computer of another student who has completed Step 6 and
double-click it. You should see the Public folder that this student has shared.
9. Double-click the
Public
folder and verify that you can open the text document that was created.
10. Close all open windows.
Administering a Windows server requires extensive knowledge of networking components and
protocols as well as a solid understanding of the network security models used in Windows. In
a Windows network environment, computers can be configured to participate in one of two net-
work security models: workgroup or domain.

Search WWH ::

Custom Search