Information Technology Reference
In-Depth Information
Activity 3-8: Publishing a Shared Folder in Active Directory
Time Required:
25 minutes
Objective:
Publish a shared folder in Active Directory and then find the folder.
Description:
You have heard that users can access shared folders by locating them in Active
Directory. You decide to create a shared folder and then publish it in Active Directory. Then you
use the find feature in Windows Explorer to locate the shared folder in Active Directory.
1. Log on to your server as Administrator, if necessary.
2. Click
Start
,
Computer
. Double-click the
C
drive to open a Windows Explorer window.
3. Create a folder in the root of the C drive by right-clicking an empty space in the right pane,
pointing to
New
, and clicking
Folder
. Type
TestShare
for the name of the new folder, and
then press
Enter
.
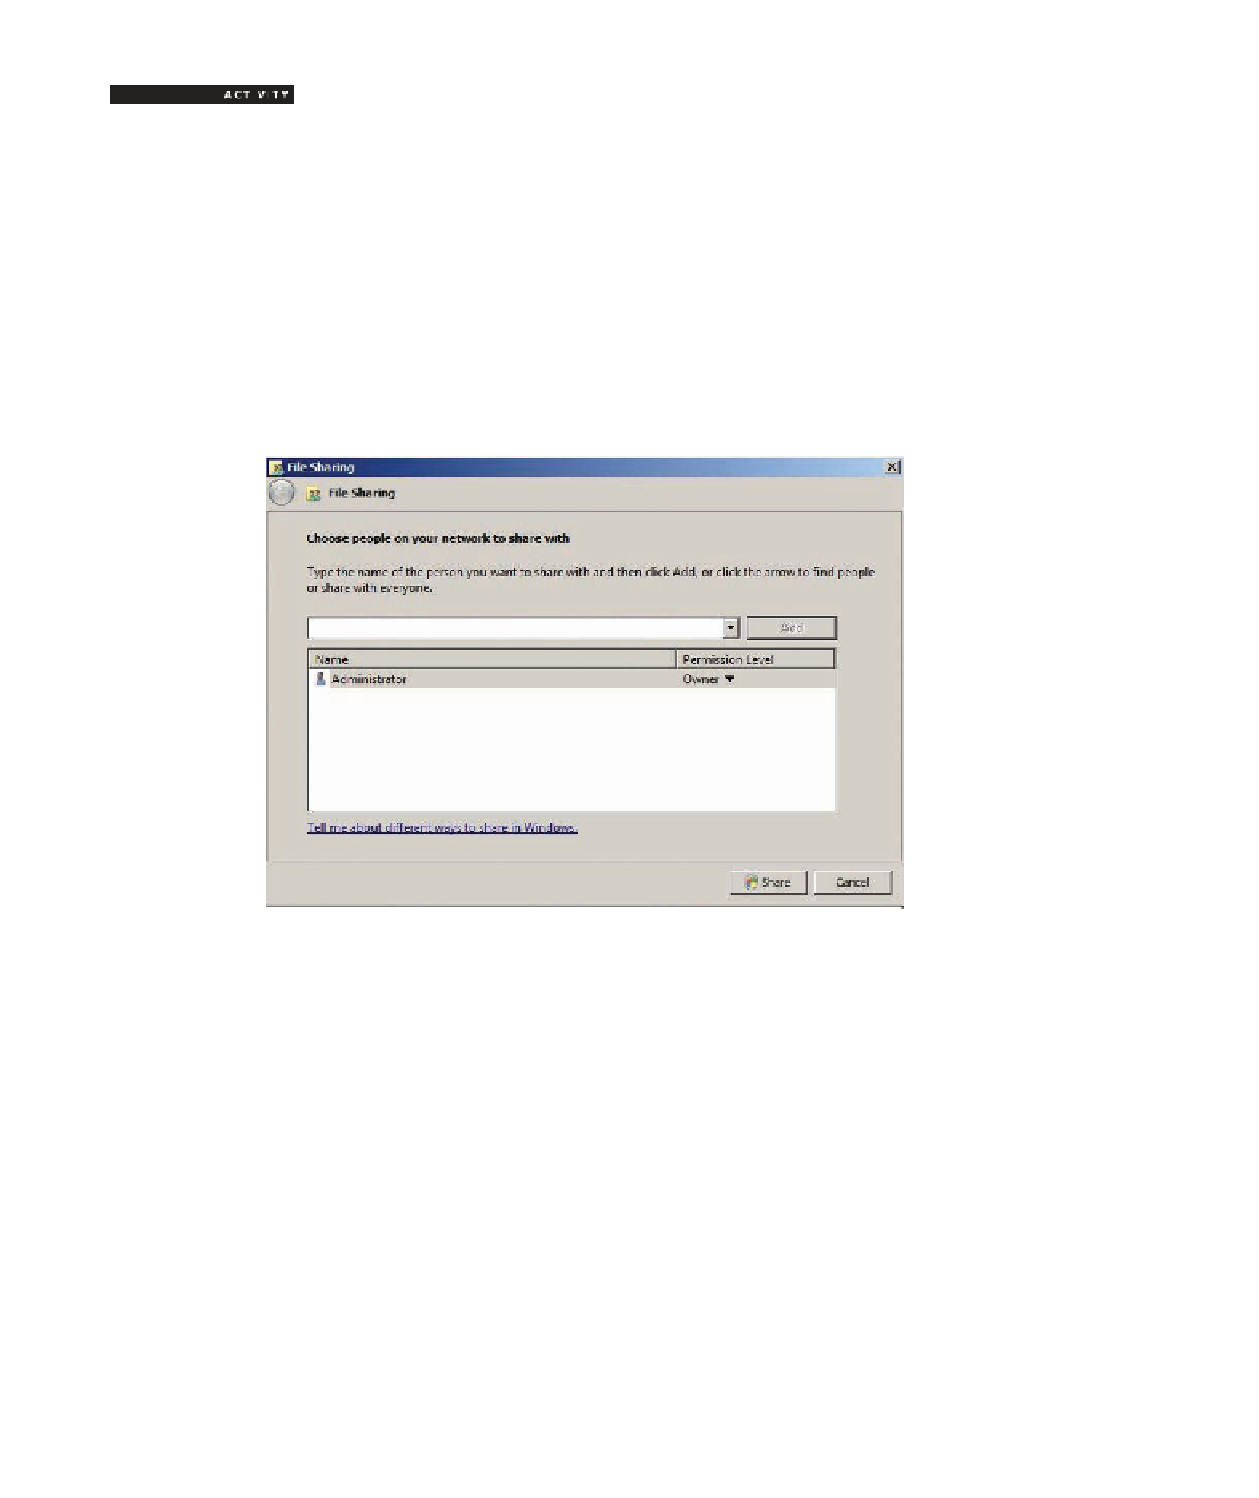
4. Make sure the folder you just created is selected, and then click the
Share
toolbar icon to
start the File Sharing Wizard (see Figure 3-14).
Figure 3-14
The File Sharing Wizard
5. Click the list arrow at the top, and then click
Everyone
. Click the
Add
button to share the
folder with all users and grant Read permission for the folder's contents.
6. Click the
Share
button, and then click
Done
.
7. Click
Start
, point to
Administrative Tools
, and click
Computer Management
.
8. Click to expand the
Shared Folders
node, and then click the
Shares
folder.
9. In the right pane, double-click
TestShare
to open its Properties dialog box.
10. Click the
Publish
tab (see Figure 3-15), and then click the
Publish this share in Active
Directory
check box.

Search WWH ::

Custom Search