Hardware Reference
In-Depth Information
DIGGING INTO THE CIRCUIT
When you wired your button, you fitted a resistor to it. This resistor is called
a pull-up resistor because it pulls the voltage on the pin of the button “up” to
3.3 volts.
When the button is not pressed (and no connection made), the wire that con-
nects the GPIO to this point in the circuit is now at 3.3 volts, which is the volt-
age the GPIO pin will interpret as a digital “1. When you press the button, the
internal mechanics of the button make a circuit between the left-hand and right-
hand pins, and the GPIO wire is “pulled hard down” to 0 volts via the 0-volt
power rail. In this condition, the GPIO pin will interpret this as a digital “0. The
resistor is quite a high value (10K ohms, which is 10,000 Ohms) because other-
wise the button will short together the 3.3 volt power rail and the 0-volt power
rail, and your computer might reboot! This is not recommended, as it can in
some cases cause damage to your computer. 10K is a short-hand form that
engineers use to refer to a 10,000 Ohm resistor.
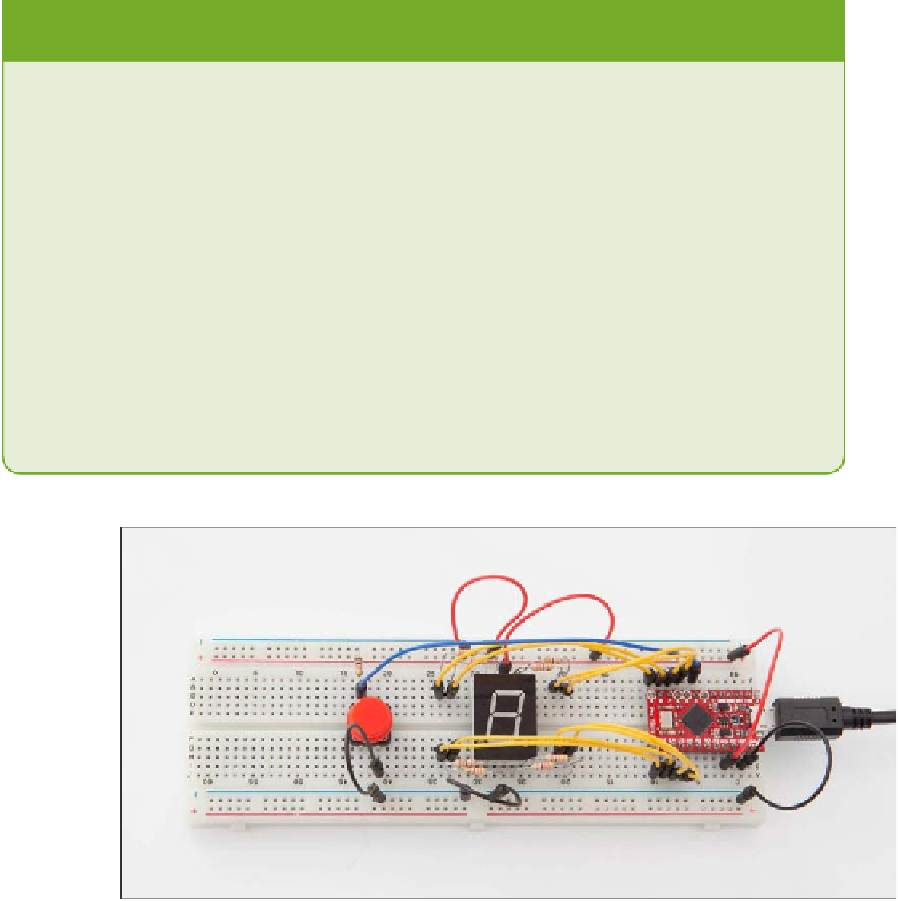
FIGURE.5-16
The button on this breadboard is wired to a GPIO on the Arduino and
has a pull-up resistor.
Writing the.Detonator Program
Now that you have wired your button, the last step is to write the Python program.
This program will monitor the state of the button each time round the game loop, and
when it senses a digital “0” on the GPIO pin (in other words, when the button is
pressed), it will count from 5 down to 0 on the 7-segment display and then blow a mas-
sive crater in the Minecraft world.