Hardware Reference
In-Depth Information
In this project, if you are using a PC or a Mac, use the
anyio
package. This
package is provided in the starter kit.
Wiring Up a Button
The first step in this project is to wire up a button that you can press to set off the
detonator. Choose a big red button to make it look really electrifying!
The button you're going to use here is a non-locking, push-to-make button. This means
that the button does not normally make an electrical circuit—it is only when you press
it that it completes the circuit. The button does not stick down, however, so as soon as
you remove your finger the circuit is broken again.
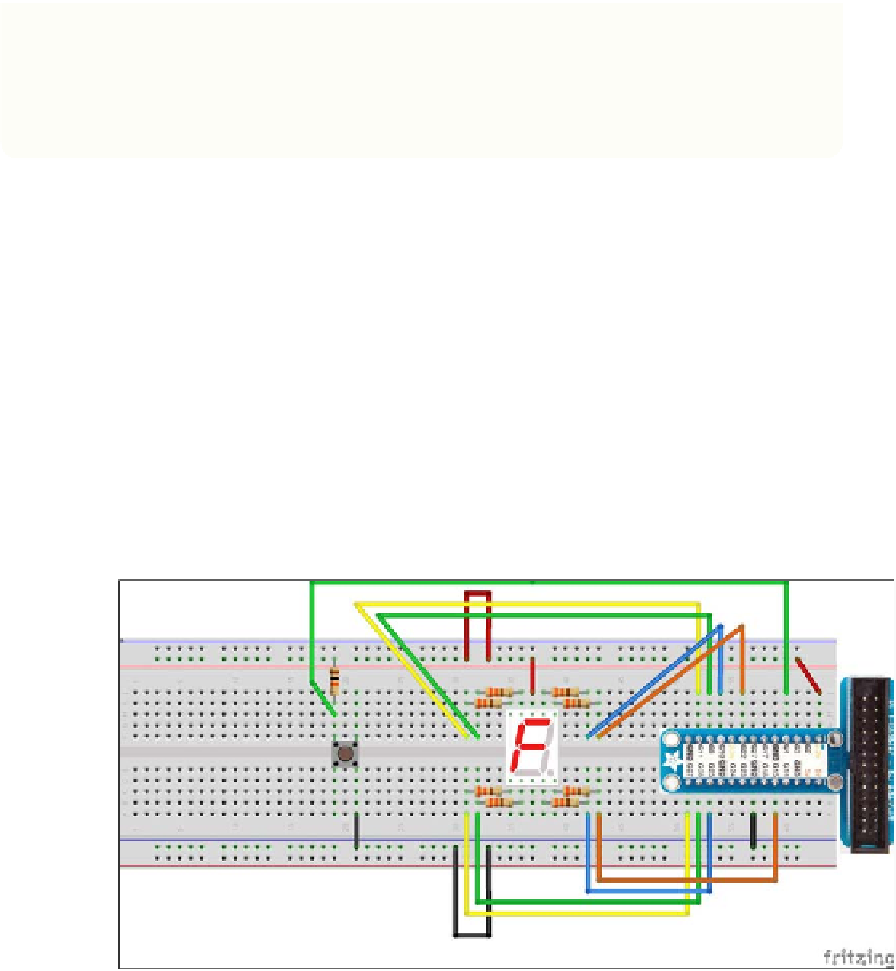
Figure 5-14 shows the circuit diagram for the Raspberry Pi, and Figure 5-15 shows the
circuit diagram for the Arduino. You can either follow these circuit diagrams, or follow
the numbered steps, whichever you prefer.
FIGURE.5-14
Circuit diagram of a button connected to the Raspberry Pi
1.
Push your button into some spare space on the breadboard. The button that I
used (see Figure 5-16) has four pins on it, and it fits nicely across the midway
point of the breadboard. Pressing the button joins the pins on the left-hand side
together with pins on the right-hand side, as long as you have fitted the button
with the pins showing at the top and bottom as shown in Figures 5-14 and 5-15.


