Graphics Programs Reference
In-Depth Information
6. Now, add a
Light Path
node (press
Shift
+
A
and go to
Input
|
Light
Path
).
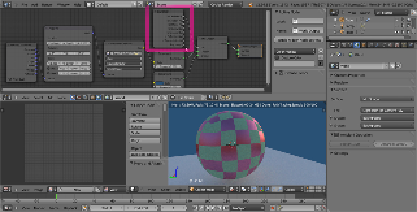
7. Connect the
Is Camera Ray
output of the
Light Path
node to the
Fac
input socket of the
Mix Shader
node, and voilà—the objects in the scene
are lit by the
hdr
image connected to the first
Background
node, but
they appear on a "sky" that is colored as set in the
Color
box of the
second
Background
node:
8. Save the file as
start_08.blend
.
How it works...
To better explain this "trick", let's say we just created two different
World
materials:
the first one with the texture and the second one with a plain light blue color (this
is not literally true, actually the material is just one containing the nodes of both the
"ideally" different worlds).
We mixed these two materials by using the
Mix Shader
node. The upper green sock-
et is considered equal to a value of
0.000
, while the bottom green socket is con-
sidered as a value of
1.000
. As the name itself suggests, the
Light Path
node can
set the path for the rays of light that, if you remember, are shot from the camera.
Is
Camera Ray
means that only the rays directly shot from the camera have a value
of
1.000
, that is, not the reflected ones, or the transmitted ones, or whatever, which
instead have a value of
0.000
.
So, because the textured world is connected to a socket equal to the value
0.000
,
we don't see it directly as a background but only see its effect on the objects lit from
the reflected light or from the
hdr
image. The blue sky world that is connected to