Graphics Programs Reference
In-Depth Information
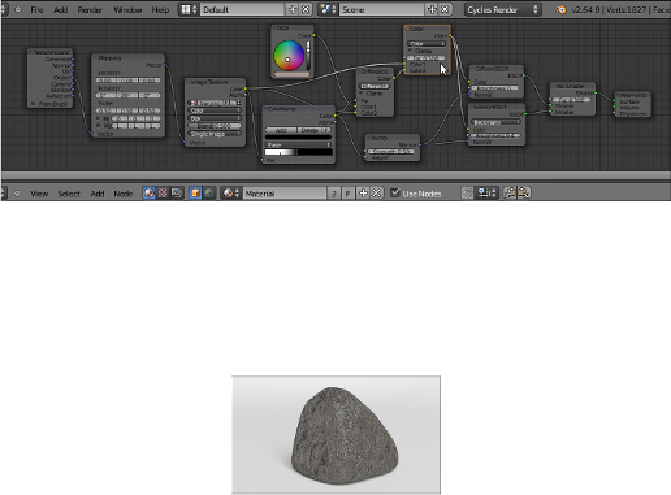
20. Rename the material as
Rock_01
(the numeration is because I assume
that you are going to experiment with the several values producing more
and different kind of rock materials). If you wish, model a very quick rock
mesh, by sculpting or deforming the subdivided cube in proportional edit
mode, and assign to it the
Rock_01
material:
How it works...
We have mapped a color rock image with the
Box
option available in the
Image
Texture
node (developed by the Mango Team for the "Tears Of Steel" production to
quickly map objects without the need to unwrap them) and set the
Blend
factor to
0.500
to have smooth transitions at the corners.
First, we have applied the image map to the cube as color, to have a quick feedback.
Thanks to the
ColorRamp
node, we have obtained the following goals:
• We have converted the color image to a gray-scale image, which is to be
used for the bump
• By moving the color markers, we have remapped this value to reverse
and increase the contrast (we could have obtained the same result by
processing the color map in Gimp, for example, by desaturating it and
playing with the Curve Tool).