Graphics Programs Reference
In-Depth Information
10. We finish this stage by adding a small edge loop to the "tail" that we created in
the first stage. All these changes are highlighted in the following screenshot:
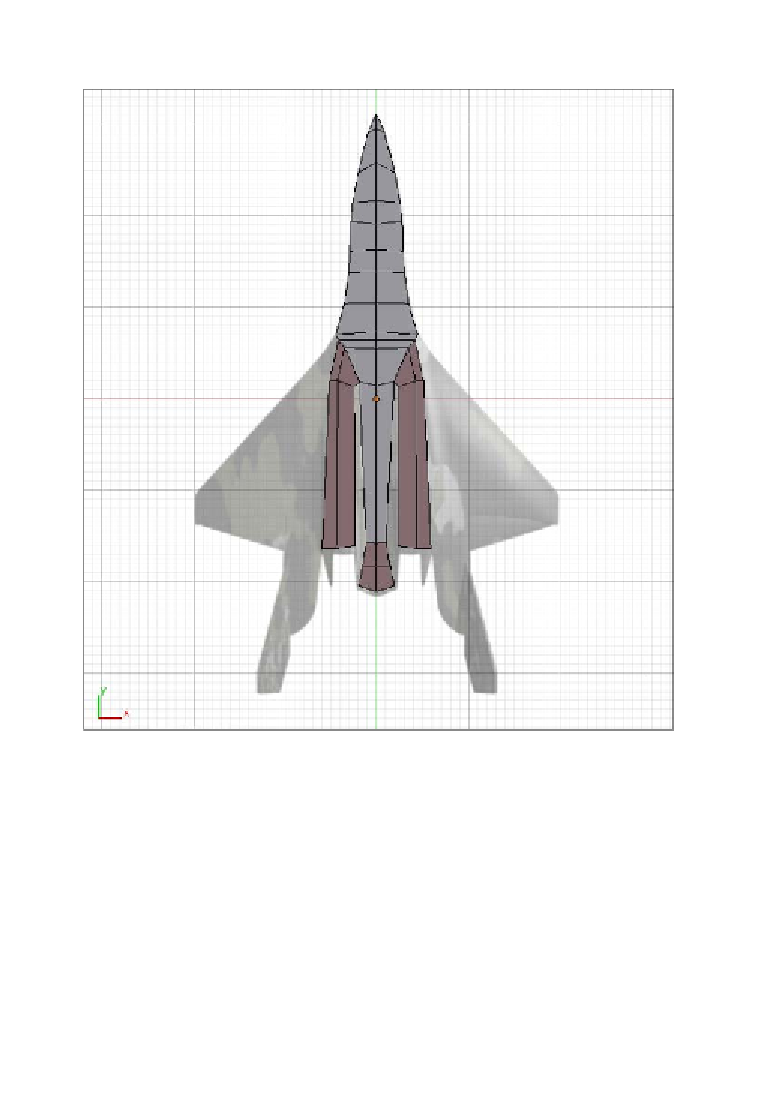
Third stage
In this stage we start adding details to the mesh:
11. First we fill the space within the "arms" created in the second stage with faces
(select opposing edges and press
F
) and then we add five horizontal edge loops
by using the
Loop Cut and Slide
tool (
Ctrl + R
) and rotaing the scroll wheel of
the mouse.
12. Before moving ahead, let's tweak the new edge loops. Move the verices and
posiion them according to the curve that they must follow in the reference image.
13. Don't forget to add the two new faces atached to the "tail" of the model. To create
these, just extrude them, vertex by vertex, on the right-hand side of the "tail" and
then fill in the faces using
Mesh → Faces → Make Edge/Face
.