Graphics Programs Reference
In-Depth Information
4. Now, deselect all the verices (
A
key), select the four verices on the let-hand side
and move them -1 unit along the X axis (
G
key,
X
key, then type
-1
). Then switch to
Right View
(
View → Right
or press Numpad
3
), select all the verices (
A
key, once
or twice), and scale the selecion by a factor of 0.8 along the Y axis (
S
key,
Y
key,
then type
0.8
).
Finally, let's use the
Loop Cut and Slide
tool to add a horizontal edge loop very
close to the botom face (
Edge Slide Percent
of
0.9
is okay) surrounding it.
This will give us the basic proporions for the body of the snail.
5.
6. To coninue working on the snail's body, let's go to the
(Modifiers
tab of the
Properties Editor
and add a new
Subdivision Surfaces Modifier,
, using a value of
1 for the
View Subdivisions
parameter. Then let's click on the
Apply
buton of the
modifier to get it converted into actual mesh data that we can work with directly.
Switch to
Edit Mode
(
Tab
key), go to
Right View
(
View → Right
), switch to
wireframe (
Z
key), deselect all the verices (
A
key), use the
Border Select
tool
(
Select
→
Border Select
or press
B
) to select all the verices living on the posiive
side of the Y axis (don't select those located at Y = 0), and then delete them (
Mesh
→ Delete,
Vertices
).
7.
8.
Now add a
Mirror
modifier (
(Modifiers
tab of the
Properties Editor
), deselect the
X
opion, enable the
Y
opion, and enable the
Clipping
opion.
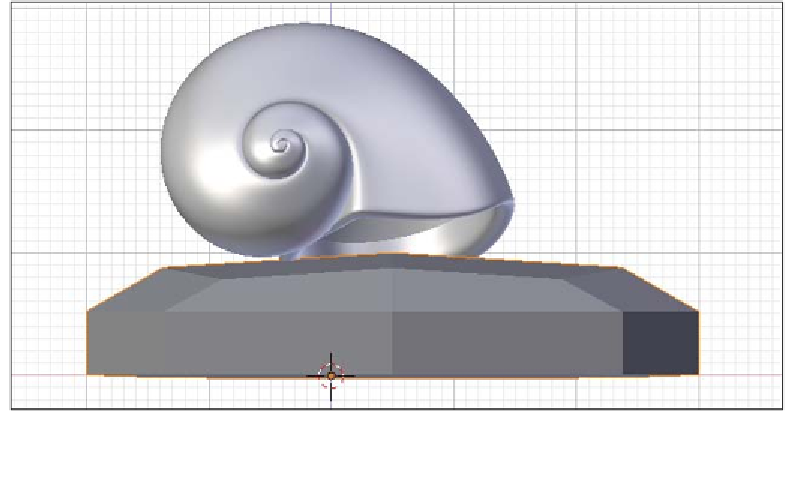
Now let's switch to solid shading (
Z
key) and check that the body of the snail looks
as shown in the following screenshot (
Front View
):
9.