Graphics Programs Reference
In-Depth Information
10. Now we only need to switch to the Face select mode and select the faces to which
the
bricks
material is assigned by selecing the material from the materials list and
then clicking on
Select
.
11. Then go to the UV/Image Editor and select the
bricks.jpg
image from the list of
available image datablocks. At this point, let's make sure that the acive UV layer is
the one named
diffBricks
.
12. With the image selected, we just need to go to the 3D View and perform a
UV Unwrap (
Mesh → UV Unwrap... → Unwrap
) to get a UV layout created
automaically for us.
13. Now let's go to the UV/Image Editor, select all the verices of the UV layout,
rotate them 90 degrees counterclockwise (
R
key, then type
-90
), and scale
them up by a factor of 20 (
S
key, then type
20
).
It's very likely that the island of the UV layout that corresponds to the front of
the building will be a bit distorted, causing the mapping to look weird on the
model. To correct that, let's just select those faces in the 3D View, switch to
Front View (
View → Front
), and then perform an unwrap from view (
Mesh →
UV Unwrap... → Project From View
). Then we just need to select the correctly
unwrapped island and scale it up to match the scale of the other islands.
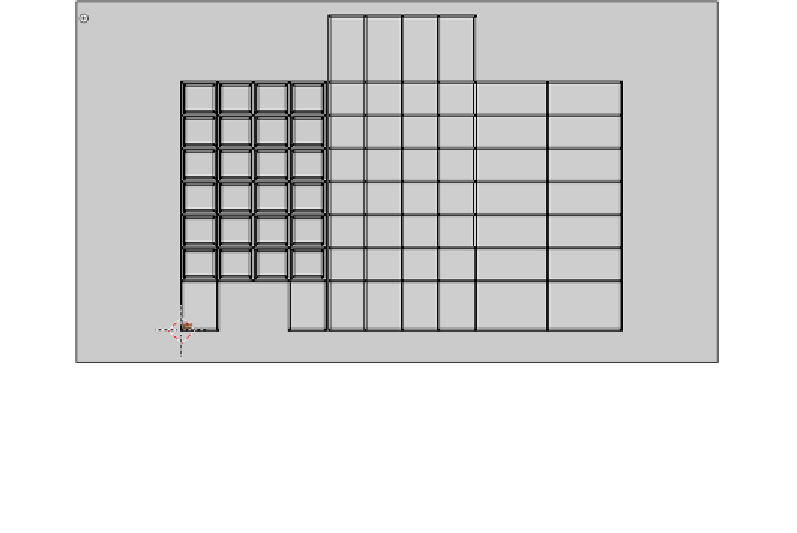
The following screenshot shows the finished UV layout for this material:
As with the previous objects, we only need one more texture: The baked result to
use as a lightmap.