Graphics Programs Reference
In-Depth Information
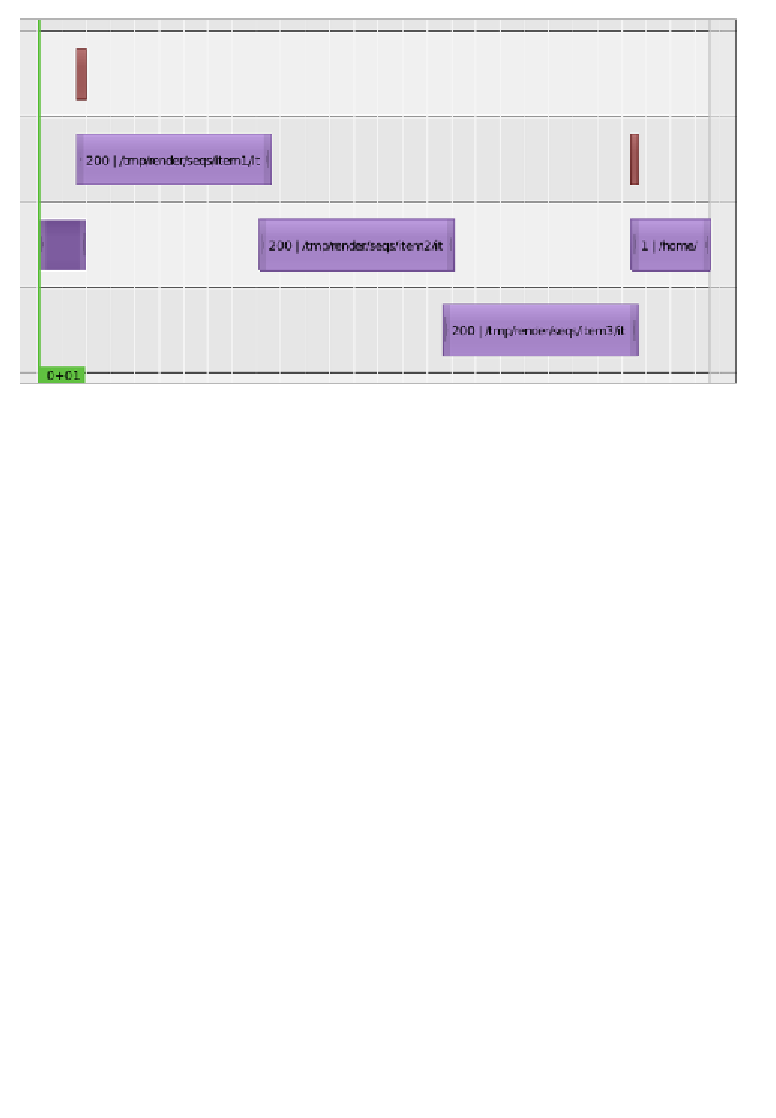
In the previous screenshot we can see two effect strips (the thin ones) and five
image strips. The work in the
Video Sequence Editor
is about adding strips from
different sources (images, image sequences, videos, and blender scenes) and mixing
or transiioning between them by means of efects. It is also possible to perform
some special mixing and combining of strips into meta-strips, but we won't use that
funcionality in this project.
3. The first strip that we are going to add is the
intro.tga
image. To do this, go
to the
Video Sequence Editor
and then to
Add → Image
. In the File Browser
that appears, browse to the folder of the project and look for the
intro.tga
image, select it by clicking with the let mouse buton on it, and then click on
the
Add Image Strip
buton, located at the top-right. Now there must be a strip
represening the image in one of the channels (shown as rows) of the editor.
4. Right-click on the center of the strip, then start moving it (
G
key) and put it into
channel 2 (channel numbers are on the left-hand side, aligned with the lower line of
the channel). Ater posiioning the strip on channel 2, let's now select the let handle
by right-clicking on the small arrow and then move (
G
key) it unil it is located at
frame 1; then select the right handle and move it to frame
50
.
5. The second strip that we must add is the strip for the sequence of images rendered
from the
item1
scene. To do this, click on
Add → Image
and go to
/tmp/render/
seqs/item1
. Once the contents of the folder are being displayed, press the
A
key
to get all the files selected, and click on the
Add Image Strip
buton.
6. The strip that appears now must be located on channel 3 and moved (the whole
strip, not each handle separately) so that its left and right handles are on frames
40
and
239
, respecively.