Graphics Programs Reference
In-Depth Information
Engage Thrusters
A good idea is to start with an easy spot to work on.
1.
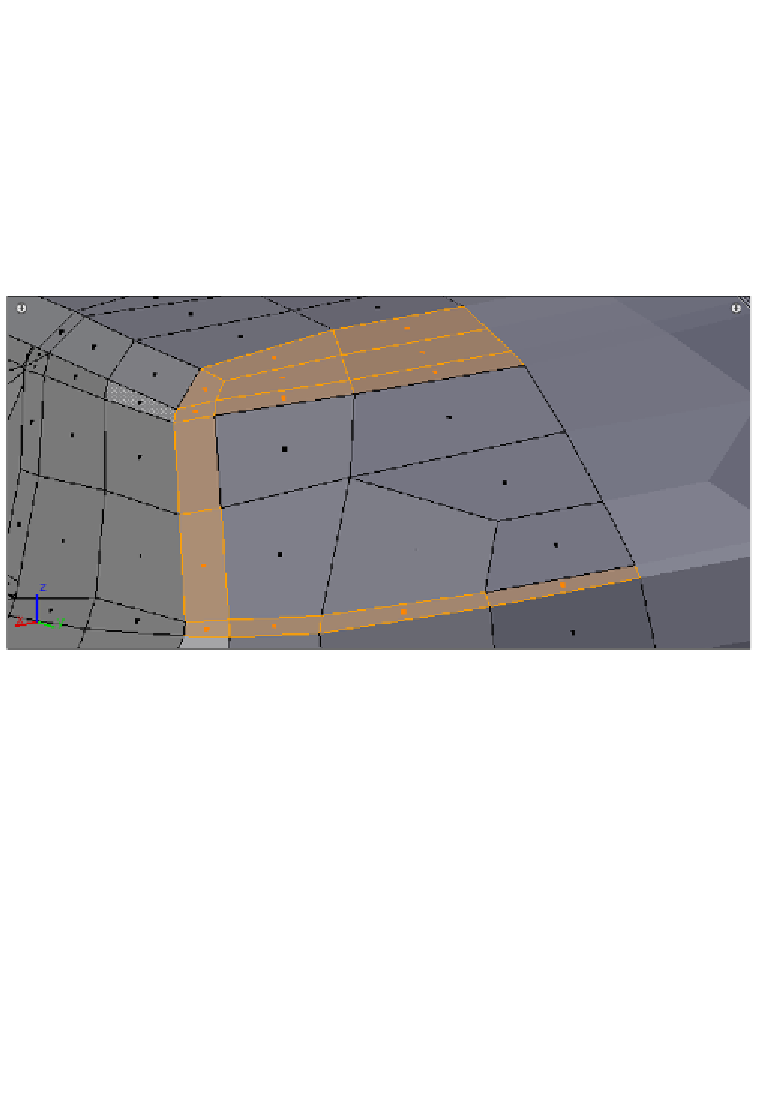
Let's go to the frame of the rear window and look at the space between it and
the roof. That space must be filled with only two faces (a 3-edge pole is needed to
accomplish this ill). Then it's ime to enable the snap opion and start snapping the
verices in the border of the patch of the frame of the rear window to touch the
patches of the roof, the small patch to its side, and the big patch of the back fender
below. The following screenshot helps us get a clear picture of what the patch must
look like after this:
Noice carefully how the small patch to the let-hand side of the frame patch has
changed. It is now touching the upper patch (the long strip coming from the side of
the windshield) and the lower patch (the back fender patch). It's important to note
that the changes in this patch also include merging its borders with the borders of
the other patches that it touches. Since the merging can be very difficult and error-
prone if done with all the patches being visible, it is recommended to just select
those patches whose borders will be merged, and hide the unselected ones (
Mesh
→ Show/Hide → Hide Unselected
or press
Shift + H
). Once the view is restricted
to only those patches that you are going to work with, the merging can be easily
done by using the snap opion to snap one vertex to another, then switching to the
wireframe shading (
Z
Key), selecing the two verices that are located on the same
coordinates, and then using the
Merge
tool available in the
Tool Shelf
sidebar
(
View → Tool Shelf
) to get a single vertex out of them. Once done with merging the
borders of these three patches, let's get back the hidden patches (
Mesh → Show/
Hide → Show Hidden
or press
Alt + H
).