Graphics Programs Reference
In-Depth Information
12. As can be seen in the previous screenshot, the front fender starts as a circle
surrounding the wheel, from which we delete some verices, to leave only six and
shape them to form less than half a circle, taking care of distribuing them evenly.
13. When the arc is shaped correctly, we select it, perform one extrusion from the right
view and scale it up a bit to form a flat ring.
14. We now extrude again and press the
Escape
key to avoid moving the extruded
edges, then scale them out a bit and go to the front view and move the extrusion
a bit to the left-hand side.
15. Another extrusion must be made in the right view (with the last extruded verices
selected) and tweaked manually to get the shape shown in the screenshot.
To coninue the construcion of the front fender patch, we must use more
extrusions, but this ime let's take a look (in the right-top view of the screenshot) at
the two verices that are connected to ive edges (these are called poles); because
of these verices, the extrusions must be separated into parts.
16. Let's select the row of edges unil the vertex that will be a pole is reached, extrude
the selecion and perform some tweaking.
17. We must now select the row of edges following the pole, extrude them, and tweak
the posiions of the verices.
18. It's then ime to create the polygon illing the space above the pole. Simply extrude
one vertex from one of the neighboring faces, move it to the inal locaion and form a
new face by selecing it and the other three verices close to it, and pressing the
F
key.
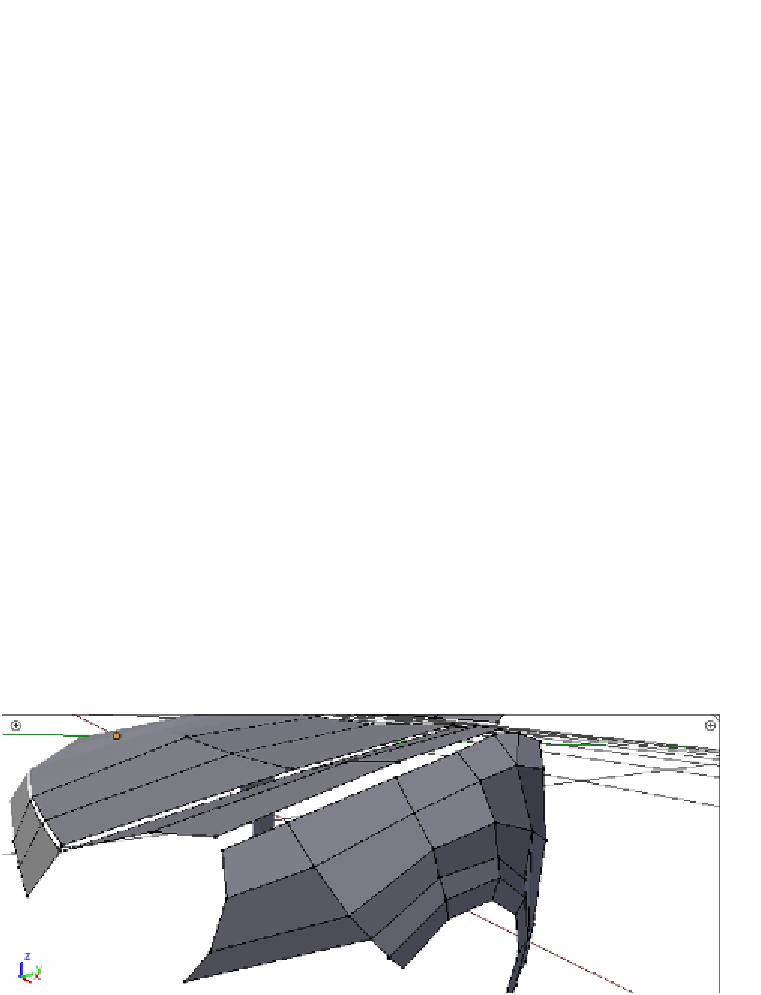
19. Let's use this process to construct the remaining parts of this patch. Taking a look at
another screenshot, from a diferent angle, can help a lot to make beter sense of
the shape being constructed: