Graphics Programs Reference
In-Depth Information
8. Let's add a plane in the Front View and accommodate it to the shape of the
windshield, then go to the Top View and inish posiioning the verices correctly.
The last thing to do is just add a bit of detail by cuing two edge loops verically
and two horizontally (Front View), and tweaking as necessary.
9. We must then create the patch for the roof of the car. To do this, just add a plane in
the top view and tweak the posiions of the verices to cover the whole roof. Then
correct the Z coordinate of each vertex by using either the front or the right view
and finish by adding two edge loops (
Loop Cut and Slide
tool, or press
Ctrl + R
),
one horizontal and one verical (Top View) and making the appropriate tweaks.
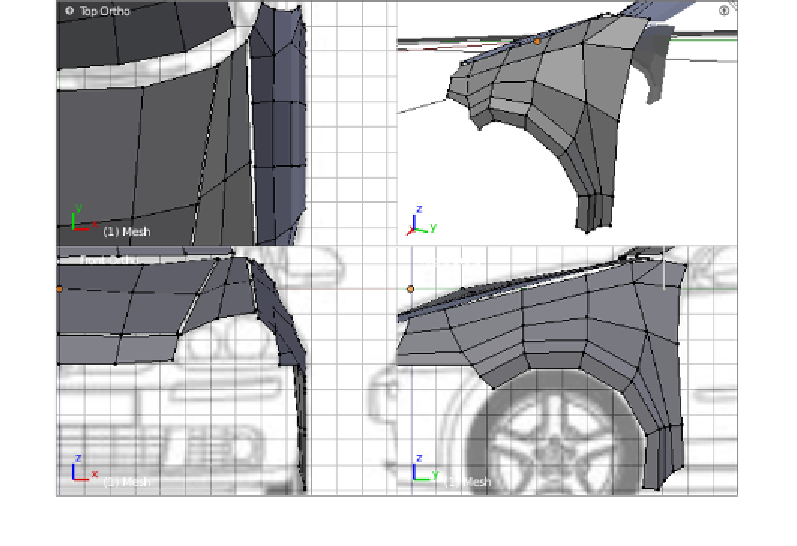
The next patch is going to be the front fender and it requires some detailed work
because we need to get its topology correct, so we don't have to redo it later.
We need to add a circle to start shaping the patch, but the circle must be located
correctly, so we start by locaing the 3D Cursor by using the front wheel.
10. In the Front View region, click on the right-hand side border of the wheel, just
guessing where the center will be; then in the right view region, click on the correct
posiion in order to get the 3D Cursor centered according to the wheel.
11. Now add a circle in the Right View, set its number of verices to 12 and set its size
so that it properly surrounds the drawing of the wheel. Since explaining the next
few steps in words is quite complicated, let's look at the screenshot of the finished
patch, and then coninue explaining the process.