Java Reference
In-Depth Information
After the login, you should see the hawt.io web console. It is worth noting that it was cre-
ated using Twitter Bootstrap, the same front-end framework that we are using in our ap-
plication.
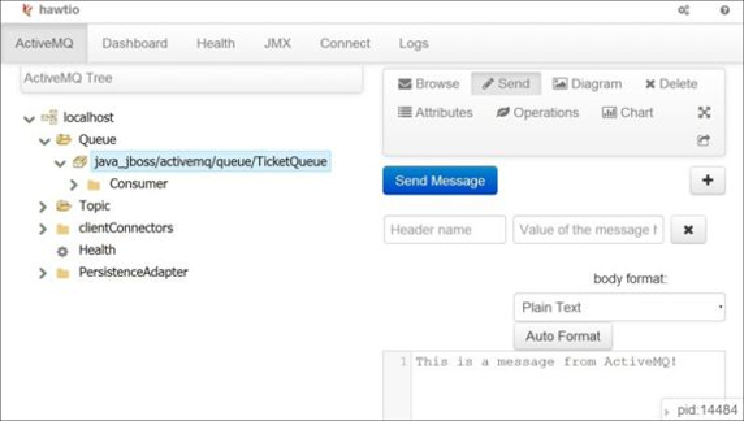
Select the first tab (ActiveMQ) and you should see a tree that represents the current con-
figuration of the broker. Find the node
localhost/Queue/
. When you expand it, you
should see the queue we defined earlier in our resource adapter:
java_jboss/act-
ivemq/queue/TicketQueue
. After selecting it, you can choose the
Send
tab on the
right-hand side. You should see a screen similar to the following one:
Enter the desired message into the big text area in the center and click on the
Send Mes-
sage
button. After switching to our WildFly console, we should see a log entry with the
message we passed to the ActiveMQ broker, as shown in the following screenshot:

