Game Development Reference
In-Depth Information
Designing a level for No Tanks is pretty simple. Really, the only necessary sprites are a green
tank and the gold bird-looking item that represents the artifact that must be recovered. The gray
tiles are ones that all the tanks can move on, and the solid blue ones are wall tiles that no tanks
can move on. All tiles that are not
TILE_WALL
or
TILE_MOVE
are considered sprites.
If you have a move tile (the only one is the gray road) on the outer edge on one side and on the
other side in the same vertical (or horizontal) position, you will automatically create a warp tunnel
in our engine. Some game engines make you specify a tile for the warp, but we will assume that
any move tiles that match up on the top and bottom (or left and right) create a tunnel warp.
Creating the sprite layer
Once you have created the background layer, it is time to create the spite layer:
1.
In Mappy, click the Layer
➤
Add Layer option in the Layer menu. This will add a Layer 1 to
your project. We will re-create the sprites on this layer.
2.
Select the Layer
➤
Onion Skin option in Layer
➤
Background Layers Darkened option. This
will become very useful when we start to edit the Layer 1 sprite layer.
3.
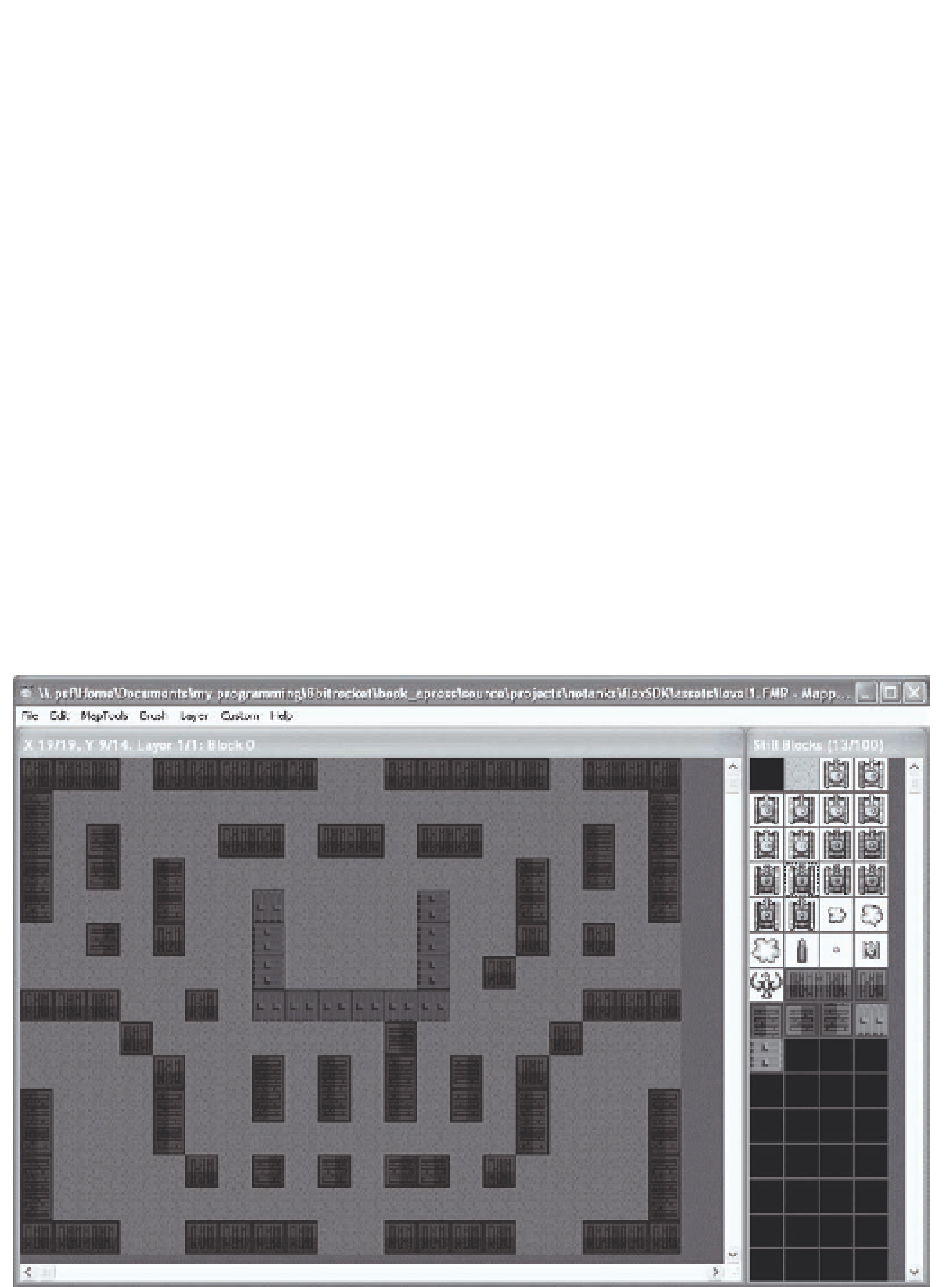
In the Layer menu, select the Layer 1 option. You should now see Layer 1 on top with the
background layer underneath and darkened out. Since layer 1 is empty right now,
there will be nothing in the foreground of the layer yet. See Figure 6-8 for an example
of what this should look like.
Figure 6-8.
The Sprite layer (layer 1) is blank. Layer 0 is darkened.