Graphics Programs Reference
In-Depth Information
In order to edit a clipping path, you need to be able to select it. Illustrator offers several
ways to do this.
1.
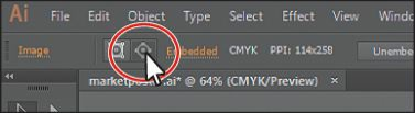
With the berries image still selected on the artboard, click the Edit Contents button (
) in the Control panel and, in the Layers panel, notice that the berries.psd sublayer
(in the <Clip Group>) is showing the selected-art indicator (blue box) to the far right of
the sublayer name.
2.
Click the Edit Clipping Path button ( ) in the Control panel, and notice that the
<Clipping Path> is showing the selected-art indicator (blue box) in the Layers panel.
When an object is masked, you can edit either the mask, the object that is masked, or
both. Use these two buttons to select which to edit. When you first click to select an
object that is masked, you will edit both the mask and the masked object.
3.
With the Edit Clipping Path button ( ) selected in the Control panel, choose View >
Outline.
Tip
You can also edit a clipping path with transformation options, like rotate,
skew, etc., or by using the Direct Selection tool ( ).
4.
Use the Selection tool ( ) to drag the bottom, middle bounding point of the selected
mask up to snap the bottom edge of the clipping path to the top edge of the corn image
(the line above the word “LOCAL”).