Graphics Programs Reference
In-Depth Information
2.
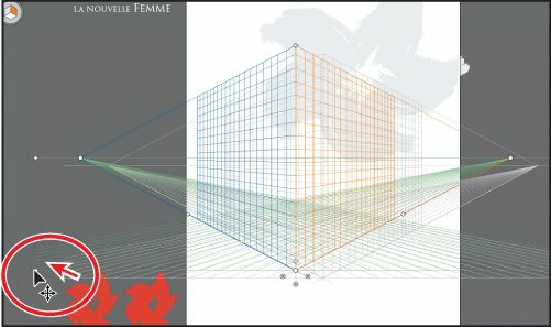
Choose View > Perspective Grid > Two Point Perspective > [2P-Normal View].
Notice that the grid changes back to the default two-point perspective.
Adjusting the perspective grid
To create artwork in the perspective you want, you can adjust the grid using the Perspective
Grid tool or using the Define Grid command. You can make changes to the grid if you have
content on it, although it will be easier to establish what your grid looks like before you add
content. In this section, you'll make a few adjustments to the grid. First, you'll move the grid
where you're going to draw some boxes. You can also draw content in the default grid
position and move that content later.
1.
Make sure that the Smart Guides are on (View > Smart Guides).
2.
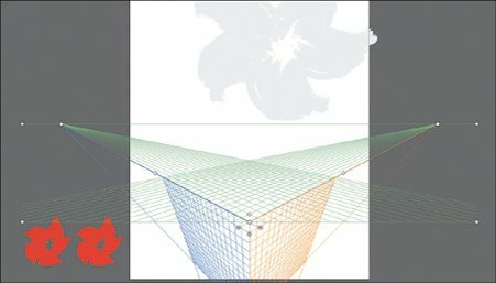
With the Perspective Grid tool ( ), position the pointer over the left ground level
point. When the pointer changes ( ), drag it to the left and up, to move the whole
perspective grid. Match the position in the figure as closely as you can.
The left and right ground level points allow you to drag the perspective grid to different
parts of the artboard or to a different artboard altogether.