Graphics Programs Reference
In-Depth Information
6.
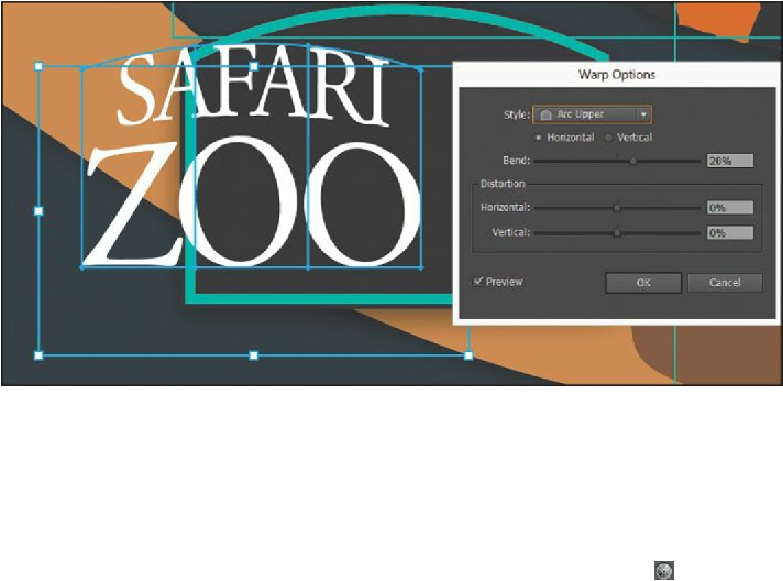
Choose Arc Upper from the Style menu. Drag the Bend slider to the right to see it bend
up further. You can experiment with many combinations. Drag the Horizontal and
Vertical Distortion sliders to see the effect on the text. When you are finished
experimenting, drag the Distortion sliders to 0%, make sure that the Bend is 20%, and
then click OK.
7.
Drag the envelope object (warped text) into the approximate center of the black sign
shape.
Editing the envelope warp
If you want to make any changes, you can edit the text and shape that make up the envelope
warp object separately. Next, you will edit the text and then the warp shape.
1.
With the envelope object still selected, click the Edit Contents button ( ) in the
Control panel. This is how you edit the text in the warped shape.
2.
Make sure that Smart Guides are on (View > Smart Guides).
Tip
If you double-click with the Selection tool instead of with the Type tool, you
enter Isolation mode. This is another way to edit the text within the envelope
warp object. Press the Escape key to exit Isolation mode.
3.
Using the Type tool ( ), position the cursor over the warped text. Notice that another
copy of the text appears in blue. The Smart Guides show you the original unwarped text
in blue. Click the word “SAFARI” to insert the cursor, and then click twice to select
the word “SAFARI.”