Graphics Programs Reference
In-Depth Information
5.
Choose View > Hide Edges.
This hides the inside edges of the shapes, not of the bounding box. It can make it easier
to see the artwork.
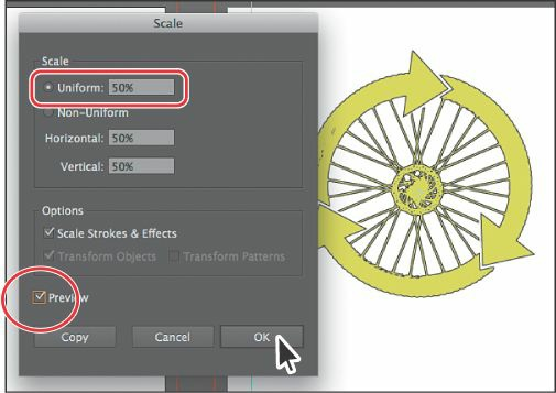
6.
Double-click the Scale tool ( ) in the Tools panel.
7.
In the Scale dialog box, change Uniform to
50%
. Select Preview (if it's not already
selected). Deselect and then select Preview to see the change in size. Click OK.
Tip
The Scale dialog box can also be accessed by choosing Object > Transform
> Scale.
You could have also selected Scale Strokes & Effects in the Scale dialog box.
Next, you will drag the logo so that the left edge of the logo roughly aligns with the guide.
Note
When snapping to a point, the snapping alignment depends on the position of
the pointer, not on the edges of the dragged object. Also, you can snap points
to guides because the View > Snap To Point command is selected by default.
8.
Select the Selection tool ( ), and position the pointer over the left edge of the lower-
left arrow head in the wheel. When you see the word “anchor” appear, drag the wheel
to the left until the pointer snaps to the guide. The pointer turns white when it is
snapped.