Graphics Programs Reference
In-Depth Information
The curve on the left above is fairly typical while the one on the right is from a very surreal
abstract image.
We also have the option of creating adjustment curves for each color channel. To do this,
simply select Red, Blue, or Green from the drop-down menu in the
Curves Panel
before
making an adjustment. When you complete your work with one color, simply start a new
Curves Adjustment Layer
to work on another color channel.
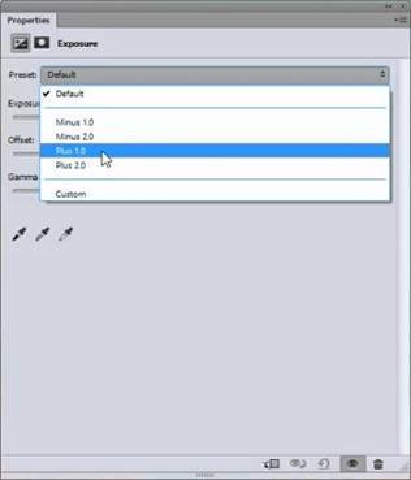
The
Exposure Adjustment Panel
con-
sists of three sliders and a drop-down
menu. The drop-down menu allows you
to change the exposure by one or two
stops in either direction with a single
click. Finer adjustments can be made
with the sliders.
It also includes the three eyedroppers for
setting the
White Balance
.
This concludes the first four choices on
the
New Adjustment Layer
menu.
Notice that there is a line on the menu
that suggests that they form a group.
These are the most frequently used and
most universal adjustment layers. They,
also, all deal with adjusting
Tonal Values
— shades or darkness vs brightness.
The next group of adjustment layers is about controlling
Color Values
.
The first two
Adjustment Layers
in this group —
Vibrance
and
Hue/Saturation
— use
sliders to vary color depth and fine-tune color variations. The best way to learn these tools
is to use them. Open an image and just make changes while you watch what happens to
the image.