Image Processing Reference
In-Depth Information
• All white areas in the image are initially selected. Invert the selection
(
Select > Invert
) and fill the result with black.
• Since the selection should capture only the hair contour, you'll need to
use the
Free Select tool (Lasso)
to remove the face from the selection. By
now, you should know which tool options are appropriate for this.
• In the image window, change to
Quick Mask
mode (from within the
Select
menu, or by clicking the button in the lower-left corner of the image
window).
• Use the painting tools and the eraser to touch up the mask where
necessary.
• When you're done touching up the mask, change back to selection mode
(
Select > Toggle Quick Mask
).
• Make sure the outside background around the hair is selected.
• Access the
Select > Feather
menu item and select a soft edge of about
5 pixels, then choose
Select > Grow
and set it to 2 pixels to enlarge the
selection.
• Delete the image background of the
red-copy
layer (
Edit > Clear
). This
creates the actual mask.
• NOTE
The mask will be gray as this is a
grayscale image. Before editing the
mask, transform the image into the
RGB mode (
Image > Mode > RGB
).
You will see the mask more clearly. It
is the familiar red mask, which makes
it easier to work with.
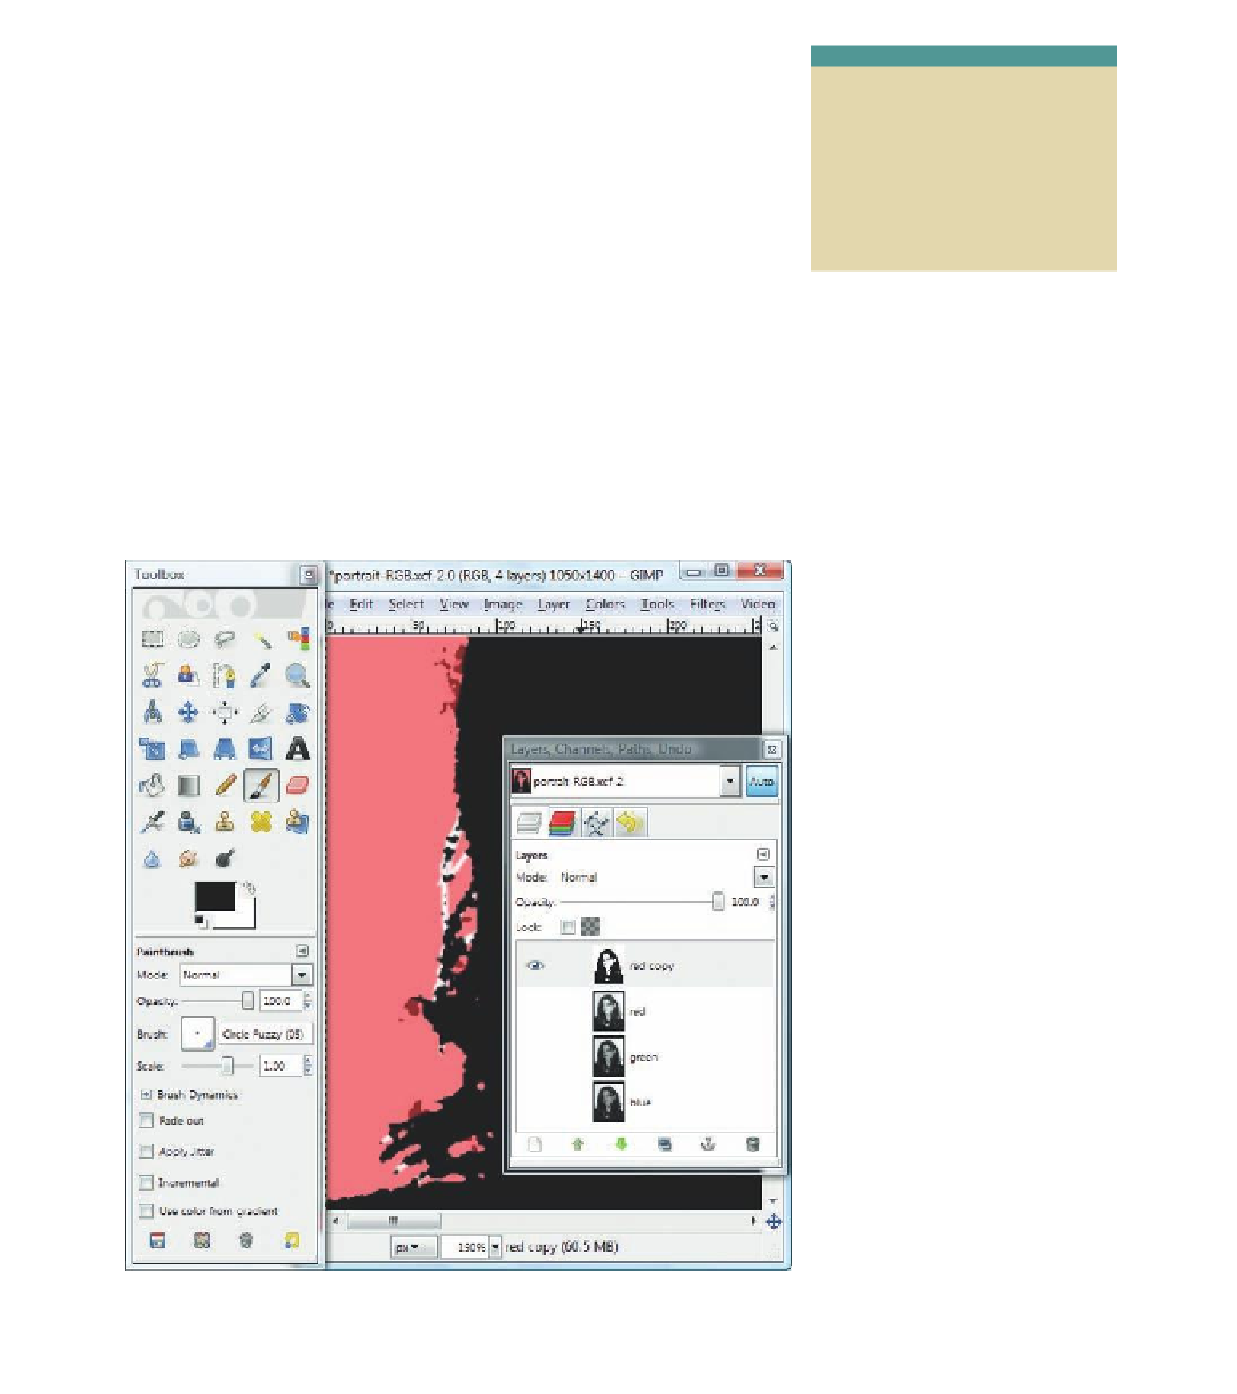
Figure 4.26
In grayscale images
(Image > Mode > Grayscale),
the Quick Mask appears as a
pale gray transparent layer,
but you can use painting and
touchup tools to edit it just
as if it were in RGB mode. You
can also transform the image
back to RGB mode. Then you
can work on the reddish mask,
which offers more contrast.


Search WWH ::

Custom Search