Image Processing Reference
In-Depth Information
If you like to do the RAW development yourself, the goal of the first step
is to open, develop, and save the RAW images, one after another, with either
UFRaw or RawPhoto. During the developing, each image should be prepared
so that its brightness is optimized. Remember when editing that you have
to keep the intended result in mind. You can define the brightness and
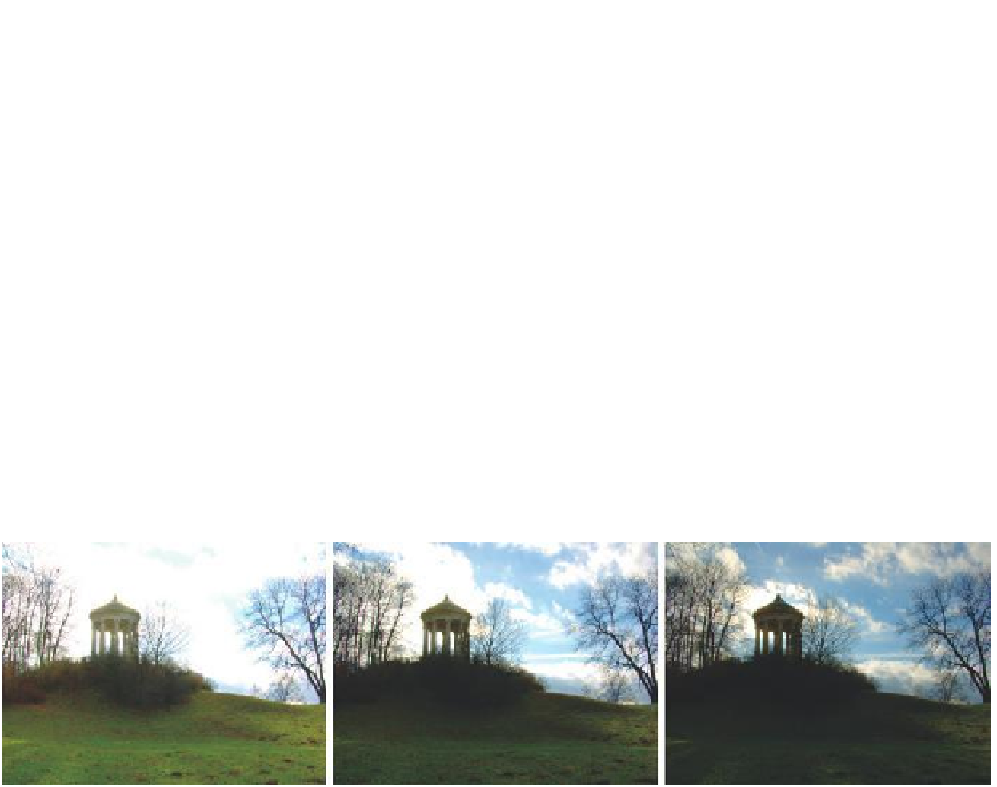
color combination according to your taste. In the first image, the brightness
should be optimized in the median areas (temple); in the second image, in
the dark areas (foreground), and in the third image, in the bright areas (sky).
After developing the images, you should save them as
median.png
,
details-
shadows.png
, and
details-highlights.png
in a folder on your computer. Select
a color depth of 8 bits/channel when saving. The steps for this exercise were
essentially described in section 2.2 Hence, I will refrain from giving you a
detailed account of the work steps. I will simply describe how the images are
supposed to look after developing.
If you want to skip the RAW development, you´ll find the prepared
images
median.png
,
details-shadows.png
, and
details-highlights.png
in the
same subfolder as the RAW files.
Figure 3.111
The developed images with optimized areas of brightness: details shadows, medians, details highlights
The first step to produce the pseudo HDR image is to merge the pictures
into one file. First, open the
details-shadows.png
image. It provides the base
for the stack of layers. Next, open the
median.png
image. As described in
section 3.6.5 and section 3.13.2, drag the image from the
Layers
dialog of
median.png
and drop it into the open image window of
details-shadows.png
.
Now you have it as a layer in the
Layers
dialog of this image. Follow the same
procedure for
details-highlights.png
. As a result, you should have three layers
for the image
details-shadows.png
. You can close the other opened images
now.
In the next step, you should take care that the layers are aligned in the
image window. They shouldn't be askew. As is the case here, the adjustment
of the images according to the image contents isn't necessary. The photos
are all the same size and have been taken with a tripod, so there shouldn't be
anything dislodged. It would be different if the pictures were taken freehand.


Search WWH ::

Custom Search