Image Processing Reference
In-Depth Information
3.1 Introduction to Masks and
Selections
Masks and selections are two sides of the same coin. Whenever you
select an image area for editing, you are, in fact, simultaneously
laying a mask over the rest of the image. This mask serves to protect
these areas from involuntary changes. (FYI: Editing refers to any kind of
adjustment made to an image, including painting, copying, adding shapes
and/or text, rotating, using filter effects, etc.)
The program works with the selection mode by default. If you've done
the recommended exercises, you probably noticed that a dashed line of
“marching ants” defines a selection. In the image window, you can toggle
between mask mode and selection mode (using the
Toggle QuickMask
option
on the Select menu) or the corresponding button in the bottom left corner
of the image window. In mask mode, the masked, or “protected”, area of the
image is masked with an overlay of transparent red—hence the name
mask
.
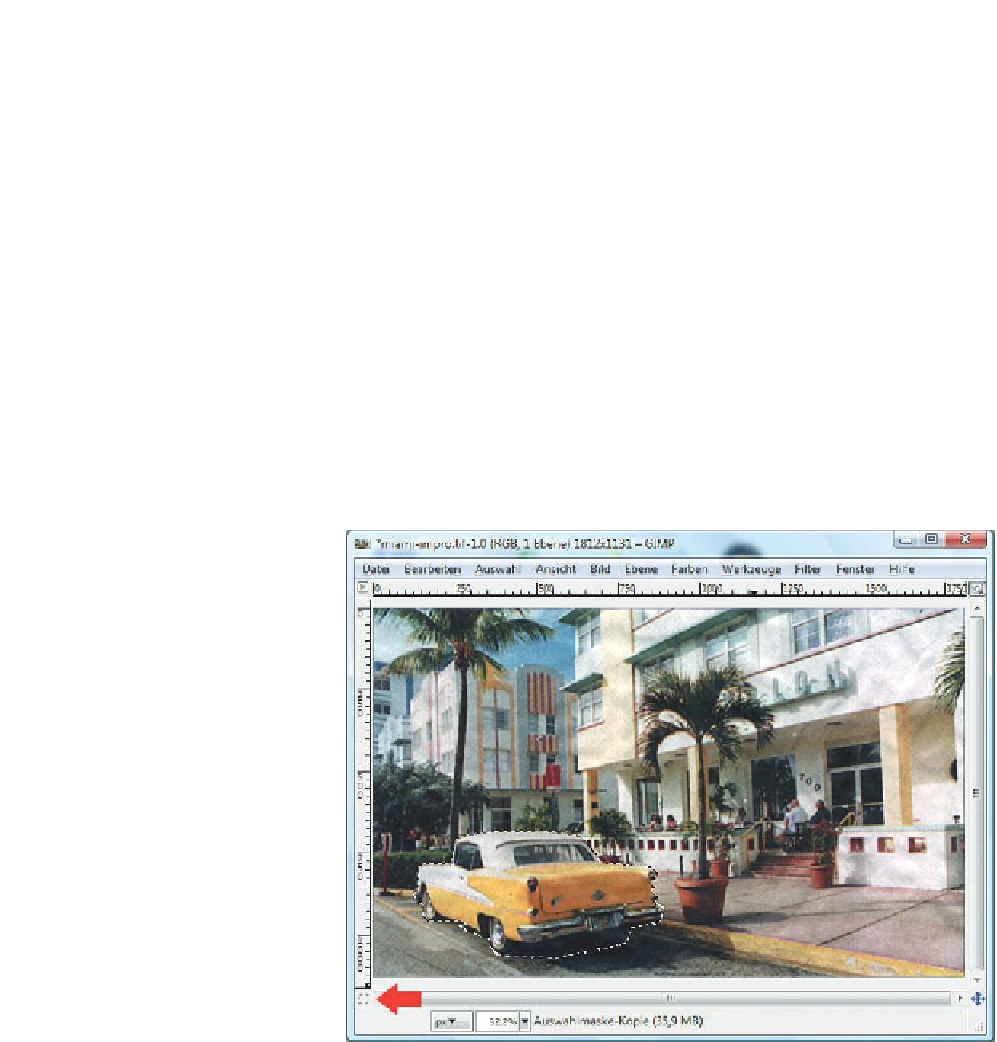
Figure 3.1
An image in selection
mode: “Marching ants”
trace the selection area.
Take a look at the small
button on the bottom left
of the window, marked
by the red arrow. Now
you can freely edit the
selected area without wor-
rying about affecting the
remaining areas.


Search WWH ::

Custom Search