Image Processing Reference
In-Depth Information
Start with the
Sharpen
filter. Adjust the value in the
Sharpen
filter window
so that noticeable artifacts are visible in the preview window. You will see a
polychromatic, highly porous structure when you adjust the sharpness above
90 (as can be seen in
figure 2.71
). Now reduce the sharpness value until the
artifacts disappear. In the example image, this should happen when the value
is around 85.
Repeat this procedure several times with a new sharpness value each
time until you reach the desired sharpness. In this example, I reached a
pronounced sharpness after two repetitions.
The Unsharp Mask Filter
The
Unsharp Mask
filter (
Filters > Enhance > Unsharp Mask
) is the all-around
genius among the sharpening filters even though it mimics a method from
the darkroom. The filter intensifies the contrasts at the edges by changing the
adjoining pixels, making the lighter pixels lighter and the darker pixels darker
depending on the radius you have chosen. Even apparently sharp photos gain
contrast and sharpness when you work with this filter. It works particularly
well with high-resolution images, and you have finer control than with the
Sharpen
filter.
Figure 2.72
The image after applying the Sharpen
filter twice with a value of 85. There is
a noticeable improvement.
Figure 2.73
The image after several applications
or rather excessive use of the Sharpen
filter. The image is oversharpened, and
the noise in the picture has increased.
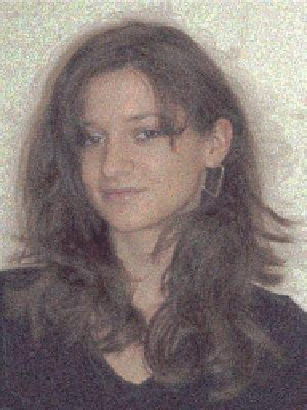
Figure 2.74
The image after sharpening once with the
Unsharp Mask filter—a clear improvement.
The chosen values were as follows: Radius
1.0, Amount 3.10, Threshold 1.


Search WWH ::

Custom Search