Image Processing Reference
In-Depth Information
In order to edit the scratched area more comfortably, use the
Zoom Tool
(you can also call it up from the
View > Zoom
menu) to access a more detailed
view of the area.
To transfer certain picture information with similar but undamaged
content from one point to another, you have to be precise when you're
choosing the section in the picture and placing it on the damaged section.
Make sure you choose and repair important sections with edges, contours,
and distinctive elements first. Uniform surfaces are not so critical and don't
need precise picture information. They can be filled out easily.
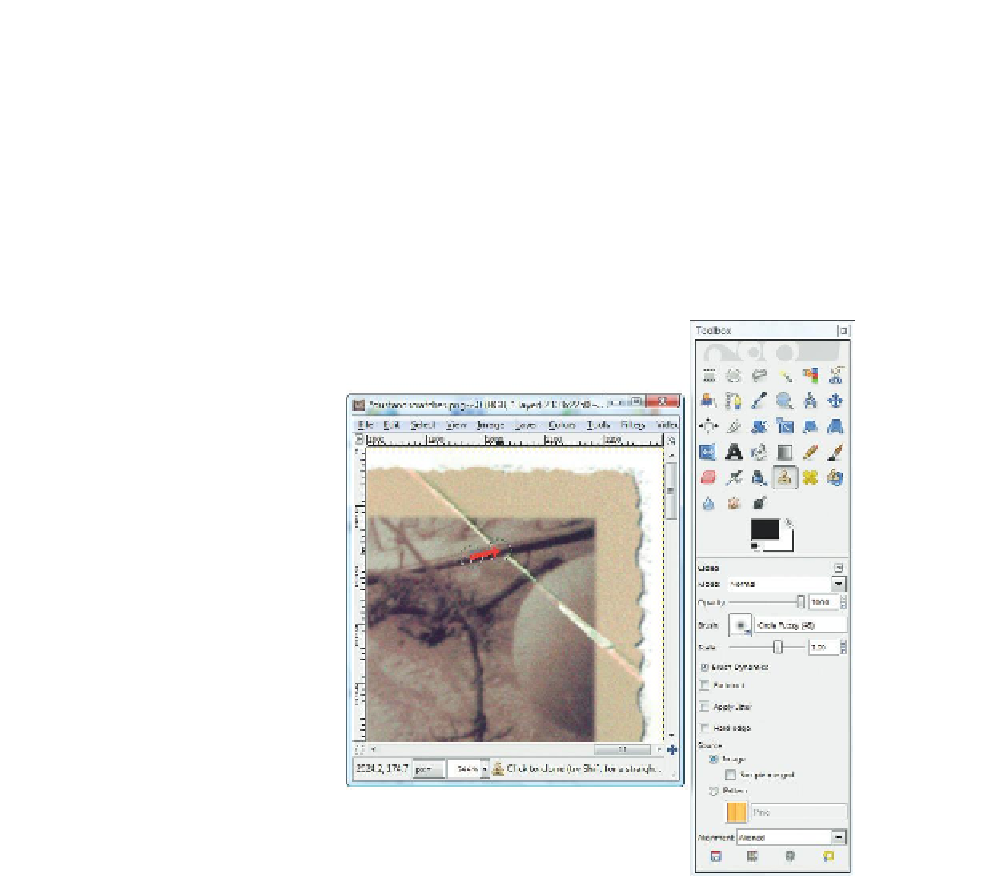
Figure 2.68
Precise work is neces-
sary to repair distinctive
image elements.
Undoing a Step
The
Undo (History)
function was discussed earlier in section 1.5.6. If you
inadvertently clicked on the wrong area, just use the
Ctrl+Z
keyboard shortcut
(or choose
Edit > Undo
) to undo a step. In the image window under
Edit >
Preferences > Environment
,
you should have already defined the number of
steps you can undo (
Minimal number of undo levels
).
Alternatively, you can open the
Undo History
by clicking on the tab
Undo
History
in the
Dialog Dock
window or by choosing
Windows > Dockable Dialogs
> Undo History
in the GIMP image window.
In addition to removing blemishes with the Clone Tool, you can remove
unwanted elements from an image. Don't forget to save your image when
you're finished.


Search WWH ::

Custom Search