Image Processing Reference
In-Depth Information
Clicking on the arrow pops up a smaller preview window giving access to
the complete image. As in the Navigation window, you can now use your
mouse, left mouse button down, to select the image section in the preview.
This feature can be found in most filter dialogs which offer a preview.
After examining the result of your settings, click the
OK
button to accept your
changes. The program will render the image.
At this point in the exercise, you have completed several important steps.
This is a good time to save the image. Selecting
File > Save
is the simplest way
to save at this point, particularly since you've already named the image (when
you first began the process).
Now take a look at your image
: What further improvements can be
made to enhance its quality?
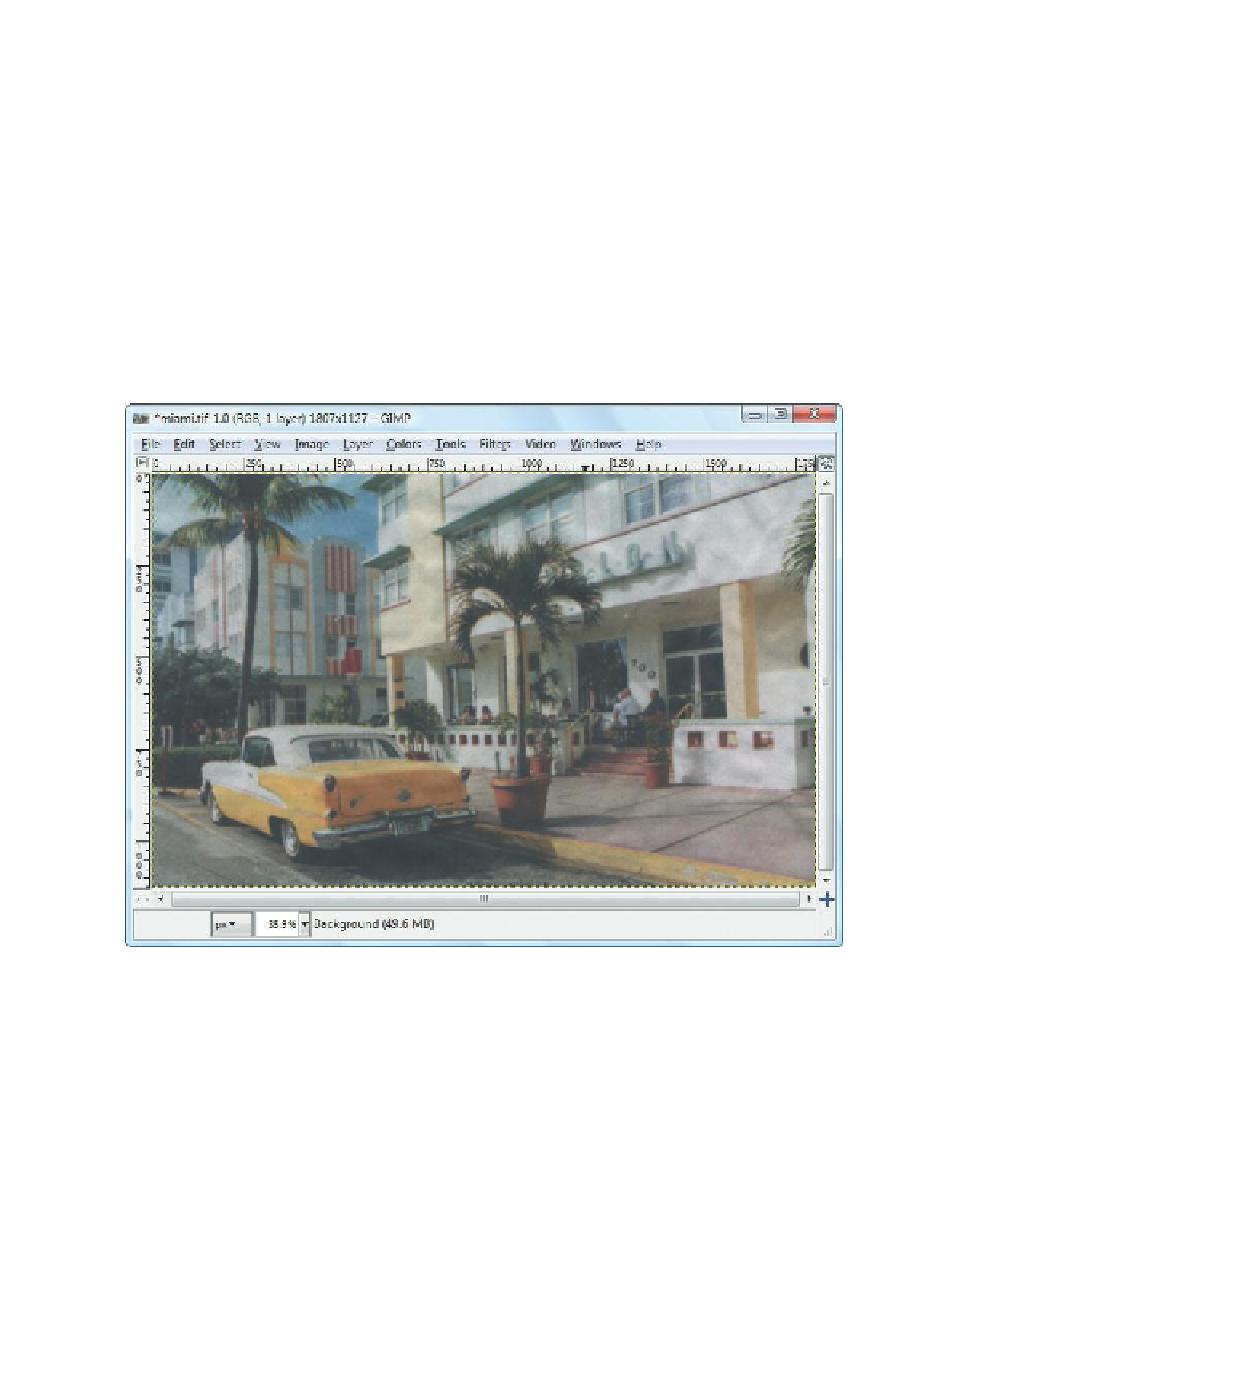
Figure 2.45
The image after rotat-
ing and cropping it and
removing the moiré effect
The moiré effect is gone. But if you take a closer look, you can still see
some of the printing raster. You can correct the image further using the
Selective Gaussian Blur
filter (
Filter > Blur > Selective Gaussian Blur
). This filter
gives the image a soft-focus effect and evens out disturbances in surfaces
while leaving contrasts at the edges. Therefore, as far as possible, it leaves the
image in focus. You may also notice that there are waves and shadows on the
facades of the buildings. (This was probably a result of the image being damp


Search WWH ::

Custom Search