Graphics Programs Reference
In-Depth Information
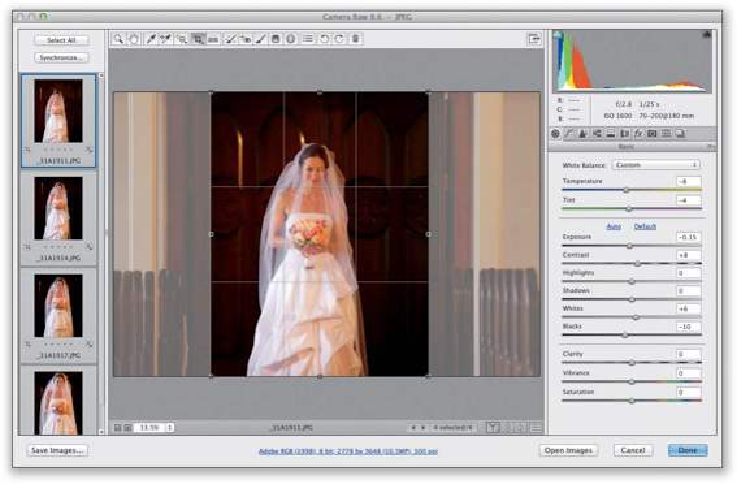
Click on the Select All button (it's above the filmstrip) and then crop the currently selected
photo as you'd like. As you apply your cropping, look at the filmstrip and you'll see all the
thumbnails update with their new cropping instructions. A tiny Crop icon will also appear
in the bottom-left corner of each thumbnail, letting you know that these photos have been
cropped in Camera Raw.
SCOTT KELBY
Step Seven:
Another form of cropping is actually straightening your photos using the Straighten tool.
It's a close cousin of the Crop tool because what it does is essentially rotates your cropping
border, so when you open the photo, it's straight. In the Camera Raw toolbar, choose the
Straighten tool (it's immediately to the right of the Crop tool and shown circled here in
red). Now, click-and-drag it along the horizon line in your photo (as shown here. You can
also double-click on the tool itself, or double-click on the image). When you release the
mouse button, a cropping border appears and that border is automatically rotated to the ex-
act amount needed to straighten the photo (as shown in Step Eight).