Graphics Programs Reference
In-Depth Information
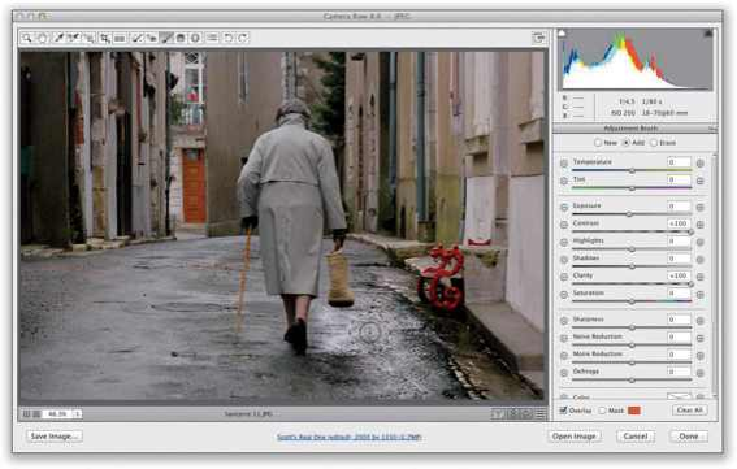
ClickontheAdjustmentBrushtool
(K)
upintheToolbarandintheAdjustmentBrushpan-
el on the right, click on the + (plus sign) button to the right of Contrast. This zeros out all
the other sliders and increases the Contrast amount by +25. Go ahead and drag that slider
to +100. Now, drag the Clarity slider to +100, too. That's it—that's the recipe. Paint over
the surface you want to appear wet (here, I'm painting to the right of the woman carrying a
small cat in a bag. (Hey, it's possible.) As you paint, the area looks wet and appears to add
reflections like an actual wet street.
Step Three:
Don't forget to paint over the sidewalk and curb, as well. Also, if you paint over the street
and it doesn't look “wet” enough, just click on the New radio button at the top of the Ad-
justment Brush panel and start painting over the same area, but start in a different part
of the street (that way, you're stacking this second pass of the look over the first coat of
“wet”). By the way, if for any reason the street looks too bright from applying that much
Clarity, just lower the Exposure slider a little bit for each pin, so it looks to have about the
same brightness overall. Once I was done painting the street here, the buildings looked too
washed out, so I went back and added some more Contrast to the entire image.