Graphics Programs Reference
In-Depth Information
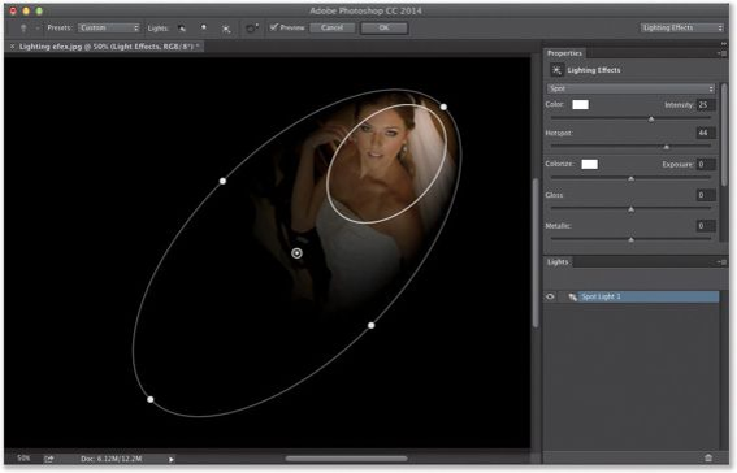
Step Three:
The reason we can ignore most of that scary-looking stuff is that there are built-in presets
we can use—they're up top in the left side of the Options Bar. When you click-and-hold
on the Presets pop-up menu, a list of predesigned lights (including multiple-light scenari-
os) appears (as seen here). For the dramatic lighting look, my favorite preset is Flashlight
(it uses the Point style of light, which is a perfect circle of light, rather than the large, oval
shape of the Spot Light style). When you chose
Flashlight
from the Presets menu, you get
this soft, round spotlight. To position it where you want it, just click right in the center of it
(the word “Move” will appear onscreen), and drag it where you want it. Here I dragged it
over onto our subject's face, but it looks a little bright. So, move your cursor over the ring
around the pin and the word “Intensity” will appear, showing the current amount of Intens-
ity (brightness), ranging from 0 to 100. To lower the amount a bit, click-and-drag right on
that ring in a counter-clockwise motion, and it lowers the brightness of the light (here, I
dragged to 33).