Graphics Programs Reference
In-Depth Information
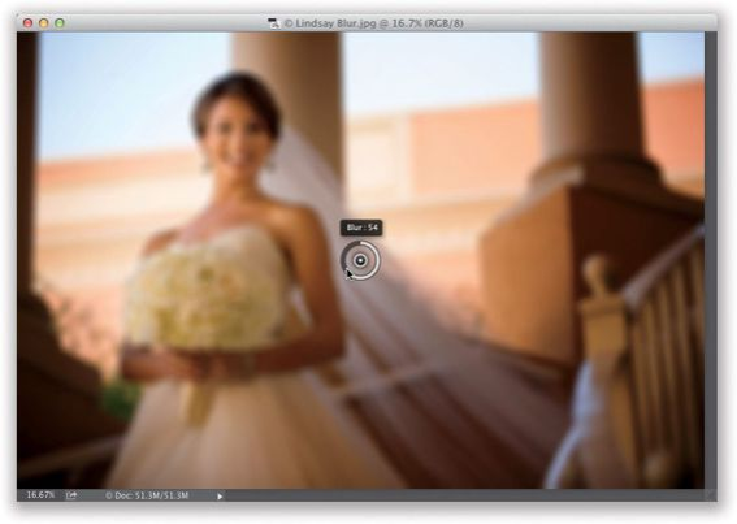
Step Six:
Okay, on to Field Blur. I use this to create gradient blurs (mostly because I can't figure out
anything else to do with it that I can't do with the Iris Blur). Open a new image and choose
Field Blur
from the Filter menu, under Blur Gallery. It places a pin in the center of your
photo (as seen here) that blurs your entire image. Ummm...yeah...that's helpful. To increase
the amount of blur (as if), click on the gray part of the ring around the pin and drag to the
left (just like you did with the Iris Blur). Well, it's a start. But the idea here is to add a
second pin and make that have 0% blur.
SCOTT KELBY
Step Seven:
Click on the bride's face to add a second pin, then click on the gray part of the ring and
drag around to the right until your blur is set to 0 (as seen here), and the area beneath that
pin is now in focus. I know what you're thinking: this sure seems like just another version
of the Iris Blur. I know it seems like that, but that's only because it kinda is. However, the
next step will show you where it differs (well, at least somewhat).