Graphics Programs Reference
In-Depth Information
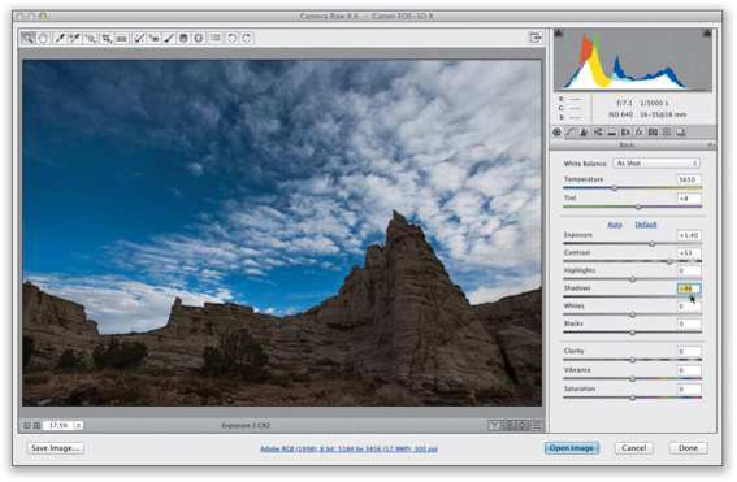
Step Nine:
ThelasttwoessentialexposureslidersaretheWhitesandBlacks.Ifyou'reusedtoworking
with Levels in Photoshop, you'll totally get these, because they're like setting your high-
light and shadow points (or your white and black points). Most of the time, if I use the
Whites slider (which controls the brightest highlights), I find myself dragging it to the right
to make sure the whites are nice and bright white (and not light gray), but in this instance,
I was using the Whites slider to pull the whites back a bit (to help hide the fact that it was
shot in harsh, direct daylight), so I dragged it to the left (to darken the whites) to around
-78. I also increased the deepest shadows by dragging the Blacks slider to the left just a
little bit (here, I dragged over to -8). I still use this slider if, near the end of the editing
process, I think the color needs more oomph, as this helps the colors look saturated and
less washed out. Here's a before/after, but I did add two last finishing touches, which were
to increase the Clarity a little (more on this coming up on page
20
) and I increased the
Vibrance amount a bit. Again, I recommend doing all of this in a top-to-bottom order, but
just understand that not every image will need an adjustment to the Highlights and Shad-
ows—only mess with those if you have a problem in those areas. Otherwise, skip 'em.