Graphics Programs Reference
In-Depth Information
SCOTT KELBY
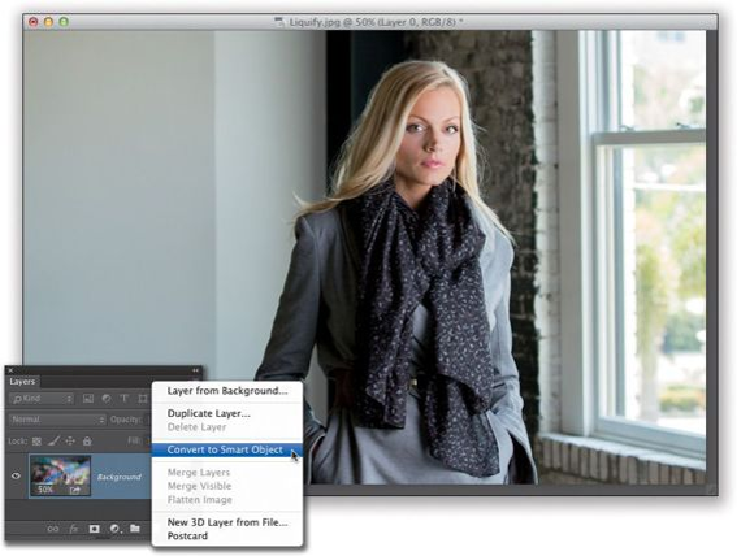
Step Two:
Now, choose
Liquify
from the Filter menu and make any changes you want (here, we'll
use the Forward Warp tool
[W]
—the first tool at the top of the Toolbox—to fix the indent-
ation in our subject's coat just below her shoulder). Use a smaller brush to nudge that area
outward until it looks nice and even (like you see here). Let's also nudge in her sleeve a
little lower down, as well, and maybe nudge the indentation out on her other shoulder a
little, too (so, we adjusted three areas in all). When you're done, click OK and that layer
now appears as an editable smart filter layer with a layer mask attached (so, if you wanted
to, you could hide any part of the Liquify edit you just made by painting over that area in
black).

