Graphics Programs Reference
In-Depth Information
SCOTT KELBY
Step Three:
With both images open in Photoshop, get the Move tool
(V)
, press-and-hold the Shift key,
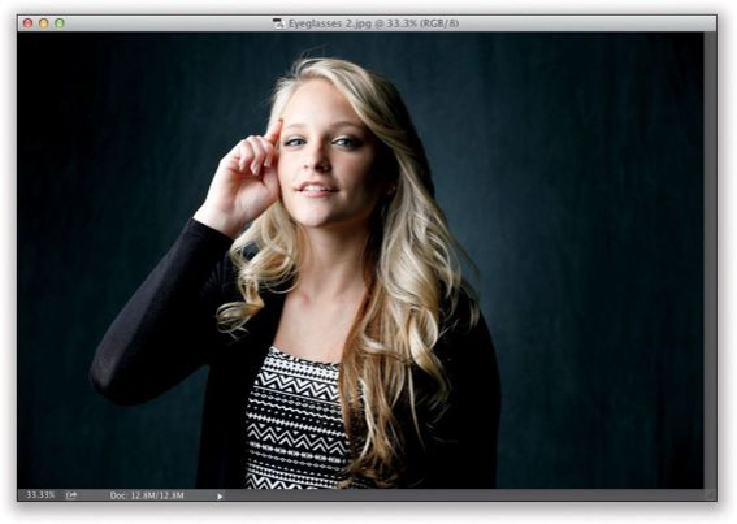
and then click-and-drag the “no glasses” photo on top of the “glasses” photo (as I did here).
Now, if you planned ahead and took shots with and without the glasses (one right after the
other), then you can take a shortcut and use Auto-Align Layers to perfectly match up the
two shots. In the Layers panel, Command-click (PC: Ctrl-click) on each layer to select both
(as shown here), then go under the Edit menu and choose
Auto-Align Layers
. Leave the
Auto option selected and click OK, and in just a few seconds, they will be aligned right on
the money. Now, if you did all of this “the right way” in the studio, then you can jump to
the second part of Step Six. However, if the shots were taken hand-held, and a few minutes
apart, we wouldn't be able to use Auto-Align Layers (the subject may have moved too
much). We'd have to do it manually (another reason why setting this up the right way in
the studio really pays off). So, we'll take a look at what to do if this happens.