Graphics Programs Reference
In-Depth Information
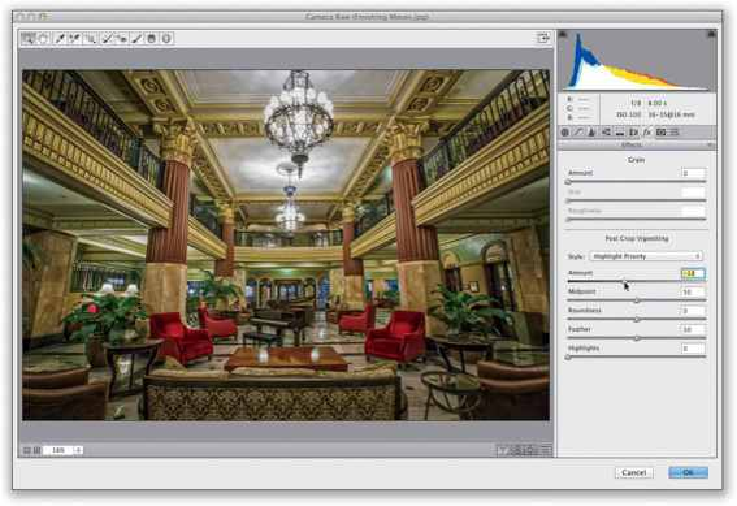
Post Crop Vignetting (designed to be used after you've cropped the image, but you can ap-
ply it to an uncropped image, no problem). Click on the Effects icon (the third icon from
the right) at the top of the Panel area. In the Post Crop Vignetting section, first make sure
Highlight Priority
is the selected Style (it's the only one that actually looks good), then
drag the Amount slider to the left to darken the edges all the way around your image (as
shown here, where I dragged to -18).
SCOTT KELBY
Step Two:
Click OK to open the image in Photoshop. Next, let's sharpen the living daylights out of it.
You can use the High Pass sharpening technique we just did, or you can just Unsharp Mask
the daylights out of it, using my favorite “sharpen the daylights out of it” setting, which is:
Amount 90%, Radius 1.5, and Threshold 0. This is some serious sharpening, so don't apply
this to photos of babies, or bunnies, or stuff you don't want to look like it's made of iron
(kidding).