Graphics Programs Reference
In-Depth Information
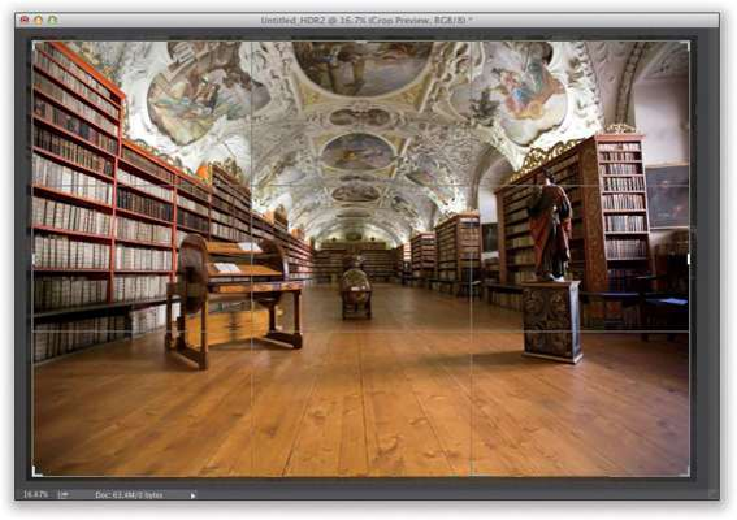
Step Seven:
So, to quickly recap: we've got the regular-exposure image on the top layer (named Layer
1), the HDR image on the bottom layer (named Layer 0 now), and they're perfectly aligned
with one another. Now it's blending time. Make sure your top layer in the Layers panel is
the active one, then simply lower the Opacity slider on this normal layer to let some of the
HDR layer below it start to blend in. Here, I lowered it to 65%, so it's mostly normal im-
age but with 35% of the HDR image showing through. It's a blend of the two but mostly
the regular image, so we get the nice detail in the wood on the floor and some added detail
throughout, but without any of the “funky” HDR stuff. If you think you want more detail,
try 50%. If you want less of the HDR look, try 80%—it's totally your call.