Graphics Programs Reference
In-Depth Information
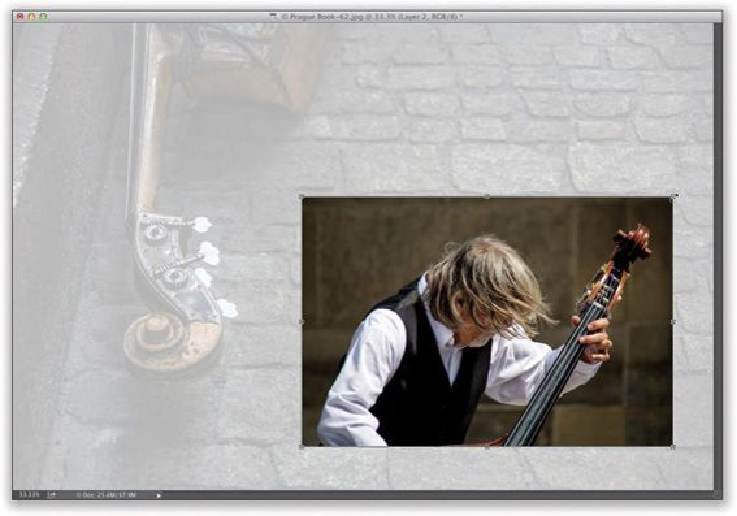
T (PC: Ctrl-T)
to bring up Free Transform (it puts little handles around your image on
that layer, kind of like what the Crop tool does). Press-and-hold the Shift key (to keep the
photo proportional), grab a corner handle, and drag inward (here, I've grabbed the top-right
corner handle and dragged inward to shrink the image). When the size looks good, press
Return (PC: Enter)
. If the image looks softer after resizing it, apply the Unsharp Mask
filter (again, see
Chapter 9
for settings) to bring that sharpness back.
SCOTT KELBY
TIP: Reaching the Free Transform Handles
If you drag an image from one open document to another (like I did here, where I dragged
the original cellist photo over onto the photo of the cello on the street), there's a pretty good
chance you'll have to resize the dragged image, so it fits within your other image. And, if
the image is larger (as in this case), when you bring up Free Transform, you won't be able
to reach the resizing handles (they'll extend right off the edges of the document). Luckily,
there's a trick to reaching those handles: just press
Command-0 (PC: Ctrl-0)
, and your
window will automatically resize so you can reach all the handles—no matter how far out-