Graphics Programs Reference
In-Depth Information
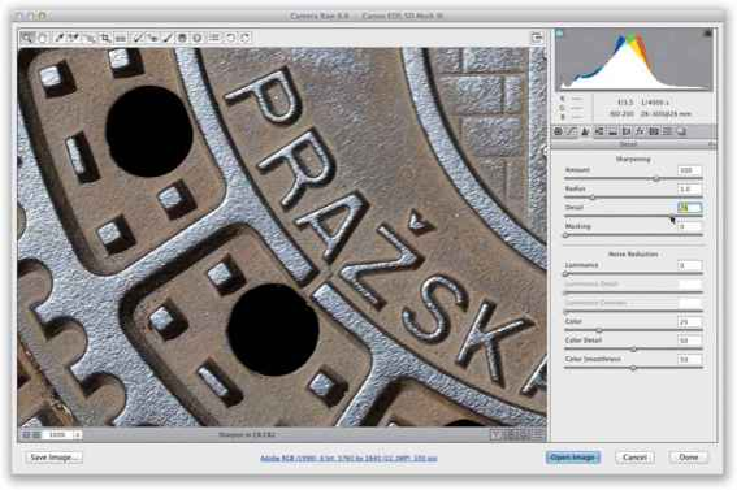
Step Eight:
I'm going to change photos to show you the Masking slider. This one's easier to under-
stand, and for many people, I think it will become invaluable. Here's why: When you ap-
ply sharpening, it gets applied to the entire image evenly. But what if you have an image
where there are areas you'd like sharpened, but other softer areas that you'd like left alone
(like the photo here, where you want to keep her skin soft, but have her eyes, lips, etc.,
sharpened)? If we weren't in Camera Raw, you could apply the Unsharp Mask filter to a
duplicate layer, add a layer mask, and paint away (cover) those softer areas, right? Well,
that's kind of what the Masking slider here in Camera Raw does—as you drag it to the
right, it reduces the amount of sharpening on non-edge areas. The default Masking setting
of 0 (zero) applies sharpening to the entire image. As you drag to the right, the non-edge
areas are masked (protected) from being sharpened.