HTML and CSS Reference
In-Depth Information
it's visible, but it's white with no borders, and thus it's invisible on a blank HTML page. The
next example adds a simple style to your
<canva
s
>
element so that you can see its borders:
<style>
canvas {
border: 1px solid black;
}
</style>
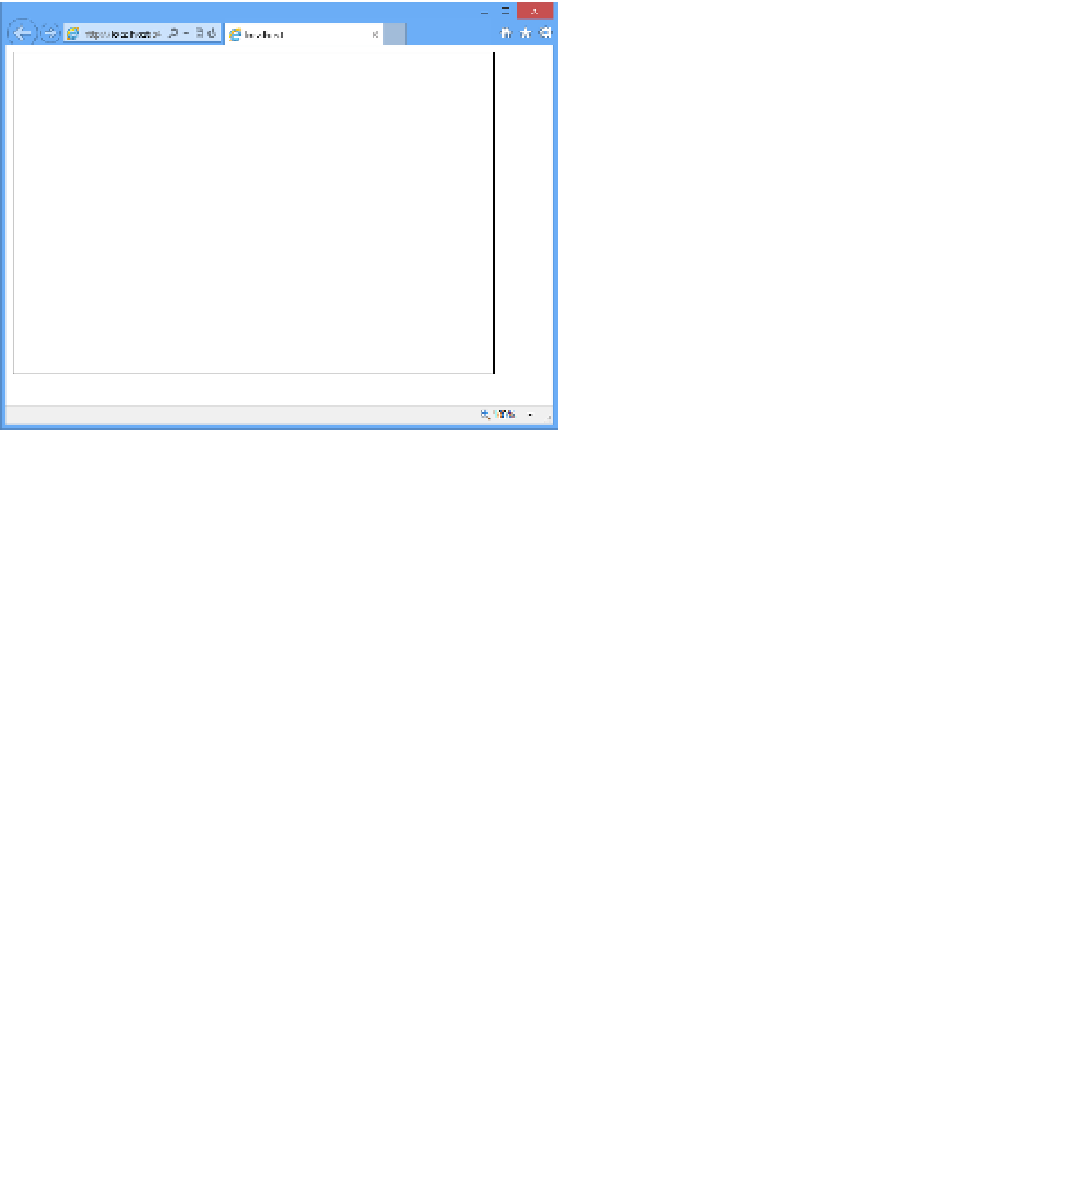
Now you can see your canvas, which should look Figure 1-26.
FIGURE 1-26
A blank
<canvas>
element
A blank canvas isn't terribly exciting yet. But now that you have a basic canvas up and run-
ning, you can work through all the various methods to create graphics on the canvas. To do
that, you should create an onload event for your window (as you have in previous examples)
to encapsulate your code and cause the graphics to render when the page is loaded. To draw
on the canvas, you need to understand the coordinate system that the canvas uses.
The canvas provides a fixed (x,y) coordinate system in which the top-left corner of the can-
vas is (0,0). In this case, the bottom-left corner of the canvas is (0,400), the top-right corner
is (600,0), and the bottom-right corner is (600,400). You should be fairly used to this type of
system because it matches the browser window coordinate system, with (0,0) in the top-left
corner. However, the position of the canvas in the browser window is irrelevant to the draw-
ing methods you use to draw on the canvas. The coordinates for drawing on the canvas are
always based on the coordinates within the canvas itself, where the top-left pixel is (0,0).
As with any HTML element, to work with it through code you need to get a reference to it
in your JavaScript. Begin by writing the following code in your page:
window.onload = function () {
var drawingSurface = document.getElementById("drawingSurface");
var ctxt = drawingSurface.getContext("2d");
}
Search WWH ::

Custom Search