Information Technology Reference
In-Depth Information
Configure Signatures
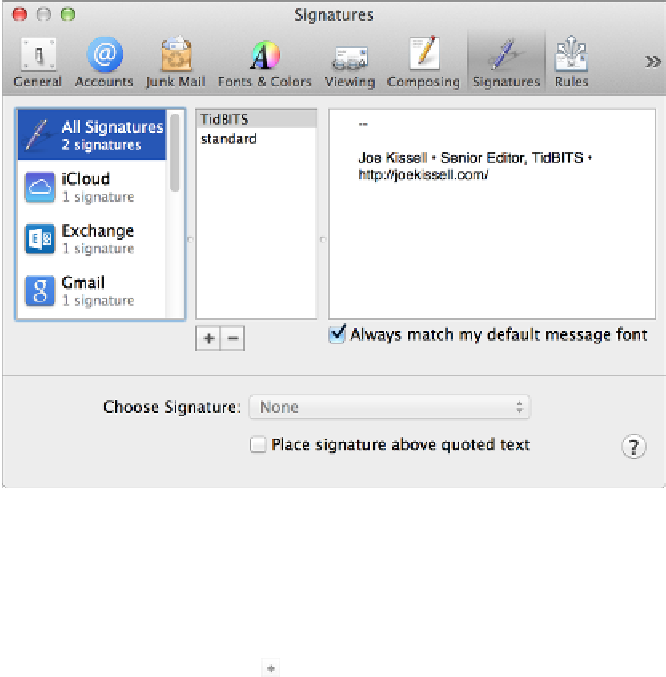
To set up signatures, go to Mail > Preferences > Signatures. The left column lists your email
accounts, the center column lists your signatures, and the right column displays the contents
of each signature (
Figure 10
).
Figure 10:
Enter signatures, and assign them to accounts, in the Signa-
tures preference pane.
First follow these steps to create your signatures:
1. In the left column, select All Signatures if it isn't already selected.
2. Click the plus button to create a new signature, and give it a name that will
help you distinguish it from other signatures.
3. In the right-hand column, add your signature. Here are some tips:
▪ To make your signature use the default font you set for outgoing
messages, select Always Match My Default Message Font. (This set-
ting uses the font selected in the Fonts & Colors preference pane,
along with the default message format—plain text or rich text—set
in the Composing pane.)
▪ You are not restricted to plain text—you can apply fonts, sizes, col-
ors, and styles using commands on the Format menu—but I advise