Graphics Programs Reference
In-Depth Information
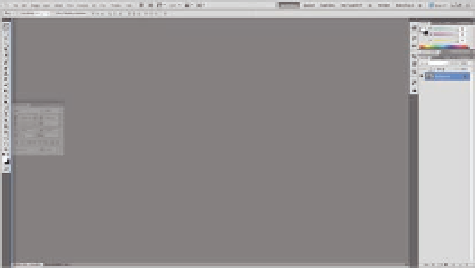
Figure 1.4
Change panel placements in the Photoshop workspace.
the panel to group the new panel within existing panel groups (Figure 1.4).
When you group a panel with other panel groups, it appears as a tab in the
panel group.
The docking panels give you more space, but this may not be enough, so you
still can free some more space by collapsing panels into icons. When you click
on these icons, the panel appears. To collapse a panel, click the top right
arrow, and then click the arrow again to expand it. When you need to collapse
the whole panel sidebar, click the topmost right arrow and the whole panel
will be displayed as icons, with the name of each panel next to it.
Move your mouse cursor over the sidebar's left edge, and it will turn to a
double-sided arrow to indicate that you can resize the collapsed panel to
hide the panels' names and show only the icons.
Save Workspace
After you've rearranged the panels and created your own Photoshop
workspace, it is time to save this workspace and add it to the workspace list.
To save the workspace, follow these steps:
Note: Adobe Photoshop
provides auto saving for
the changes you apply
to the workspace
without the need to
save it again. This
option lets you easily
customize your own
workspace and
update it.
1. Open the New Workspace dialog box via Window
>
Workspace.
2. In New Workspace dialog box, give your new workspace a name.
3. In the Capture area, you can opt to save the keyboard shortcuts and the
menus modiications as well.
4. Click OK to save this customized workspace.
Delete Workspace
Adobe Photoshop allows you to delete the custom workspace. To delete a
workspace, follow these steps:
1. Make sure that you are not currently using the workspace you would like
to delete.
2. Select Window
>
Workspace
>
Delete Workspace.
3. Choose the Workspace you would like to delete from the drop-down
menu and click OK.