Graphics Programs Reference
In-Depth Information
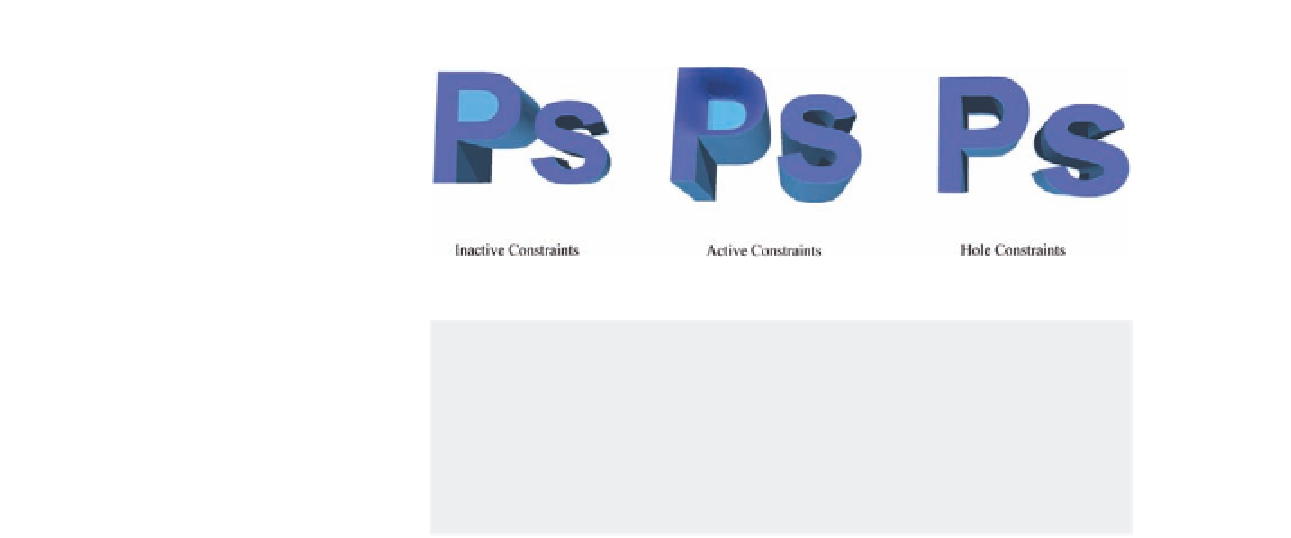
Figure 7.9
Internal Constraints
examples.
Note: You can convert the selection or path to constraints either through
the Repoussé dialog box or by choosing 3D > Repoussé > Create
Constraints from Selection or Create Repoussé from Path. These choices
will become active if you add a selection or path on the Repoussé 3D
mesh from outside the dialog box. You can then add the subpath/selection
as a constraint from the 3D menu or directly from this section in the
dialog box.
When you apply the Repoussé efect on a selection, text object, or path, you
can edit it by choosing 3D
>
Repoussé
>
Edit Repoussé.
The following example helps you understand the Repoussé option better by
trying it out. In this example, we will create a 3D smoke/steam efect coming
out of a 3D cup using the Repoussé options:
1. Open the ile teacup.psd; this ile includes a 3D model of a teacup.
2. Create a new layer and ill it with gray.
3. Select the Ellipse tool. Make sure that the Path option is selected from
the top left icons in the Properties bar and draw a small circular path on
the gray layer.
4. Choose 3D
>
Repoussé
>
Selected Path.
5. A new 3D object is created based on the path, and the Repoussé dialog
box appears. You can rotate the 3D object using the 3D Rotate tool to
reveal its sides.
6. In the Presets section, choose Twist 3 to create a twisted cylinder.
7. Increase the extrude depth to 10.
8. Set the Scale value to 0. This will reduce the size of the face side.
9. Set the Twist value to 750 to create the swirl efect of the steam rising
out of the teacup.
10. Flip the 3D object upside down to get the narrow part on the top.
11. In the material presets, make sure that the Default (Ray Tracer) is
selected from the context menu to be able to view the ray-traced-
quality materials. Choose the Glass efect.
12. Click OK to exist the Repoussé.
13. Open the 3D panel and go to the Material section.
14. Set the opacity of the ive materials to 15%.