Graphics Programs Reference
In-Depth Information
The previous example shows you how to form a new shape from the cylinder
using a grayscale gradient; the following example will use a 2D layer to
create a bumpy planet surface. We will create a texture layer to function as
the contour map for the planet. This texture layer will diferent degrees of
light gray and white that will create bumps on the sphere's surface, creating
the efect of a real planet. (In Chapter 8, we will discuss adding a texture map
in more detail.)
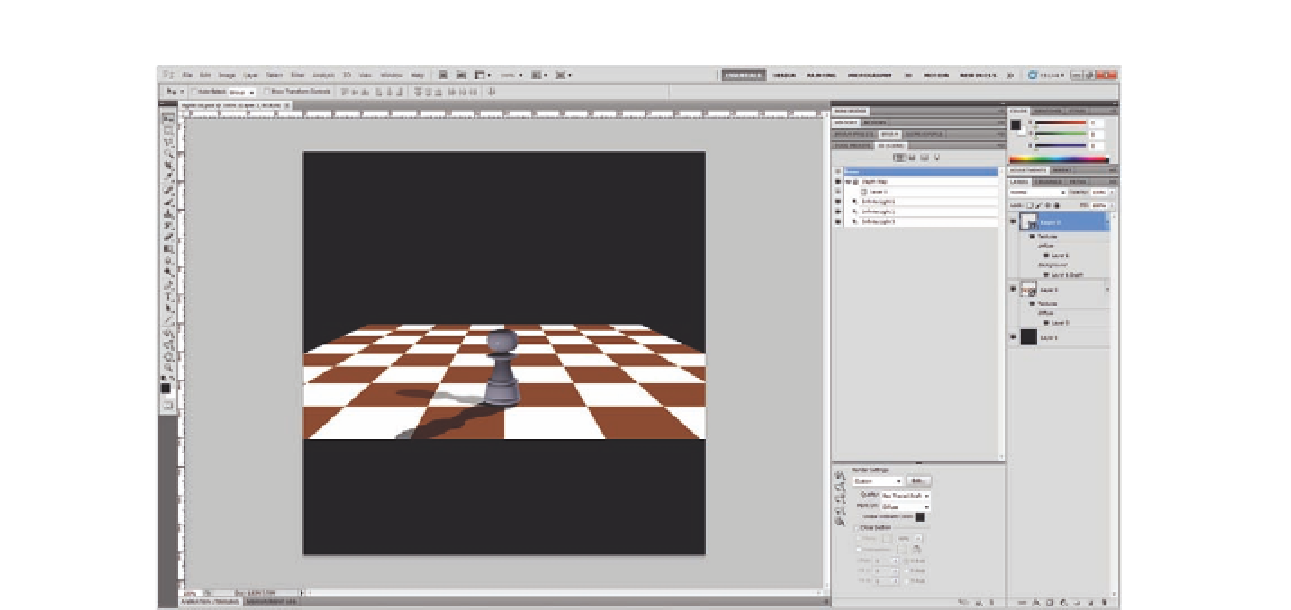
Figure 6.15
The chess pawn on the
3D chessboard.
1. Open a new Photoshop ile.
2. Create a new layer and ill it with a very light gray color, such as #f7f7f7.
This will create a global change in the sphere surface (by making it a little
deeper).
3. Use the Brush tool with a slightly darker gray color and the brush opacity
set to 15%. Click in the areas where you would like depth, and repeat
your clicks to get a darker gray, which will translate to more of a dip in
the surface.
4. Change the brush color to white, and click on the areas that you would
like to be higher on the planet's surface.
5. Instead of the brush, you can use the Pencil tool (with sharper edges) to
create sudden changes in the surface. The brush edges fade softly, which
will create a gradual change in the surface.
6. Make sure that the layer is selected, and in the 3D panel, choose 3D
Mesh from Grayscale in the Create New 3D Object section.
7. Choose Sphere from the drop-down list.

