Game Development Reference
In-Depth Information
9.
Set the display back to Textured.
Most of the Terrain tools have different functionality when a specific key, usually the <shift> key, is
being held down. In the Raise/Lower Terrain tool, holding the <shift> key lowers the terrain. Just as
the regular painting caps out at 130 meters above the base height, painting lower will bottom out at
20 meters below base.
10.
Paint a couple of depressions in the terrain by holding down the <shift> key
while you paint.
11.
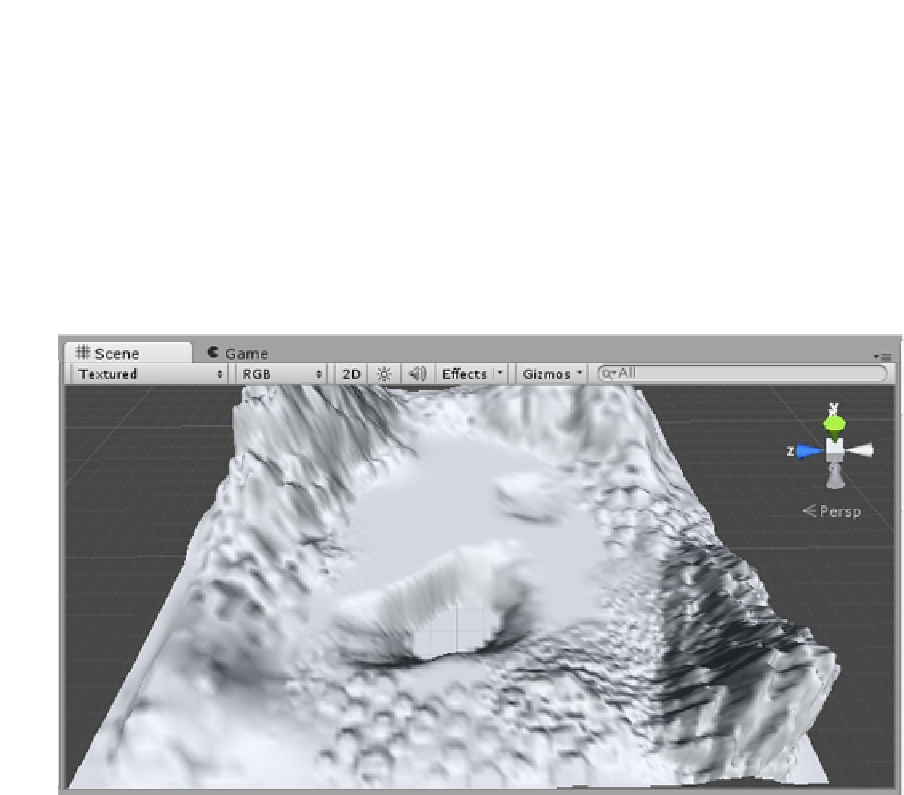
Paint over the same depression a few times until it bottoms out (Figure
2-27
).
Figure 2-27.
A couple of depressions in the valley floor
The next tool is the Paint Height tool. Like the Raise/Lower Terrain tool, it is also additive, but you
can set the cap height to have more control when painting building pads, mesas, or even sunken
walkways. Because you are already defining a target height, this time the <shift> key will sample the
terrain's height at the cursor's location when you click. This is quite useful when you want to go back
to a certain feature to increase its size but can no longer remember the height setting you used.
1.
Click on the Paint Height button.
Note that the previous settings for Brush Size and Opacity are retained.
Let's create a plateau, slightly above the base level. The Height parameter is set to the Terrain height,
150 meters, so if base height is 20, a good height for a low plateau might be 30.
2.
Set the Height to
30
.
3.
Paint your plateau in a nice area in a clear spot on the valley floor (Figure
2-28
).