Game Development Reference
In-Depth Information
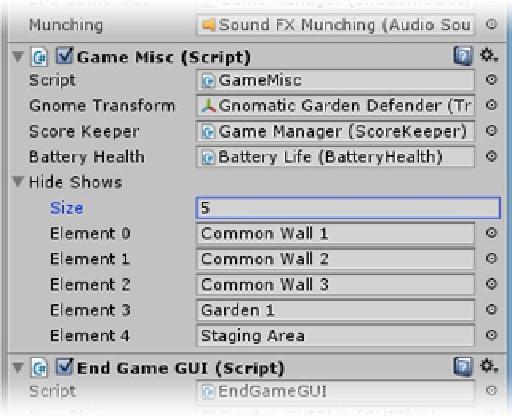
Figure 10-45.
The areas affected by occlusion culling added to the Hide Show array
2.
Enable the HideAtStart components on the objects you added to the Game
Misc component's Hide Shows array.
3.
Save the scene, and open the StartMenu scene.
4.
In the Inspector, set the Level Manager's new Area Visibility's array Size to 5;
5.
Save the scene and click Play, watching the areas' visibility in the Scene view
as you go between levels and menus.
There are obviously lots of refinements that could make the game better for game play, visual effect,
and stability, but as most real-life projects have a time or budget limitation, now would be a good
place to stop and consider the current version of the game as “finished.”
Final Build
With the game in a relatively “finished” state, it's time to revisit the Player settings and then do
an almost-final build. There are a lot of settings that can be adjusted, but most are better left as
advanced topics.
1.
From the Assets menu, Project Settings, select Player.
2.
At the top of the Inspector, set Company name to
Gnomatic Solutions
.
3.
The Product name should already be Garden Defender.
4.
For Default Icon, click Select and locate the GnomeIcon image.