Game Development Reference
In-Depth Information
The Stork bobs up and down because the center of each of the auto-sliced sprites is at a different
height. That may not be an issue or may even be a serendipitous surprise with some animations.
You will be trying something different with the stork. Anyone who has ever held a live chicken in
their hands knows that you can move the body and the chicken's head attempts to retain its initial
location. With this animation, you will attempt the same effect but for a more mundane reason.
The stork's head must remain still while the wings move the body up and down so the parented
sprites will always be registered properly. One way to insure that is to slice the sprites with the grid
option. Providing the registration point is exactly the same for each sprite, the animation will play as
designed. To better illustrate this, let's try a classic bouncing ball.
10.
Select the Ball asset from the 2D Assets folder.
11.
Change its Sprite Mode to Multiple, set its Format to 16 bits, and click Apply.
12.
Open the Sprite Editor.
13.
Click Slice.
The various ball poses are cropped close as expected (Figure
9-30
).
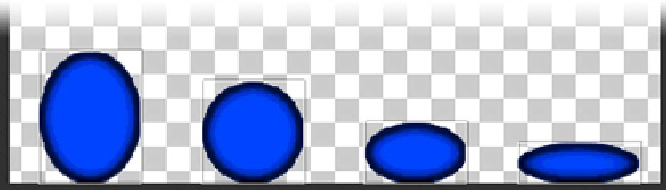
Figure 9-30.
The cropped balls in the sprite sheet
14.
Click Apply, and then drag the ball's sprites into the Scene view.
15.
Name the animation
Ball Test
, and put it in the Animation Clips folder.
16.
Click Play, and watch it in the Scene view.
As expected, there isn't much movement, though it squashes nicely.
1.
Select the Ball asset in the Project view again.
2.
In the Sprite Editor, change the Type to Grid, set the Pixel Size to 128 x 256,
and set the Pivot to Bottom (Figure
9-31
).