Game Development Reference
In-Depth Information
object to an empty gameObject
before you start animating
. Children inherit the transforms of their
parents. Their animations are always relative to their parent's location, so you will be able to position
the parents without disturbing the children's animations.
3.
Drag the ToastedZombie (or the BurntAlien if you are using the AlienHerbavore
instead of the ZombieBunny) into the Scene view.
4.
Frame the Scene view to the ToastedZombie.
5.
Create an Empty gameObject, and name it
Toasted Zombie Parent
.
The new gameObject should be in the same spot as the ToastedZombie (using Center, not Pivot).
6.
Drag the ToastedZombie onto the new Toasted Zombie Parent.
7.
Select the ToastedZombie.
8.
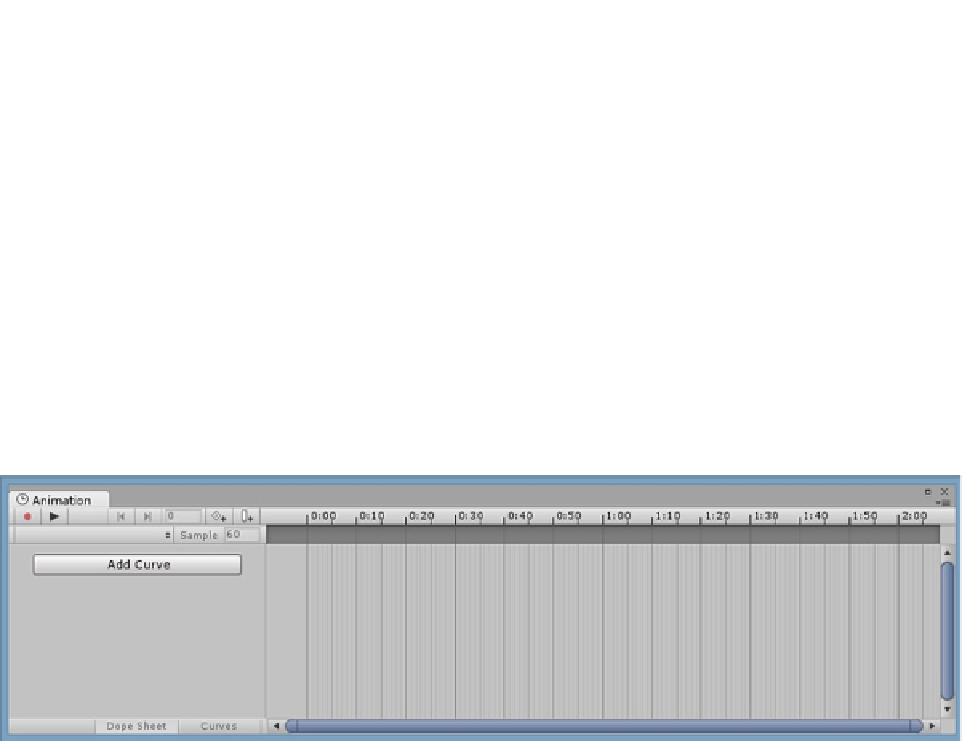
From the Window menu, select Animation (Ctrl + 6) (Figure
6-48
).
Figure 6-48.
The Animation view or editor
9.
In the Animation editor, click on the Add Curve button.
Because you don't yet have an animation clip to add a curve to, you are redirected to create one first.
10.
Create a new animation clip named
Jump Shrink
in the Animation Clips folder.
When you have created a clip, its name appears as the selected clip and the list of available
parameters appears to the button's right. You will not see curves because the view opens to the
Dope Sheet rather than the Curves view. Either can be selected at the bottom of the Animation view.
Rather than manually adding the animation tracks you want one at a time, you can animate
the gameObject directly in the viewport or from its parameters in the Inspector. The tracks will
automatically be created.
The red Record button should now be active (Figure
6-49
).